
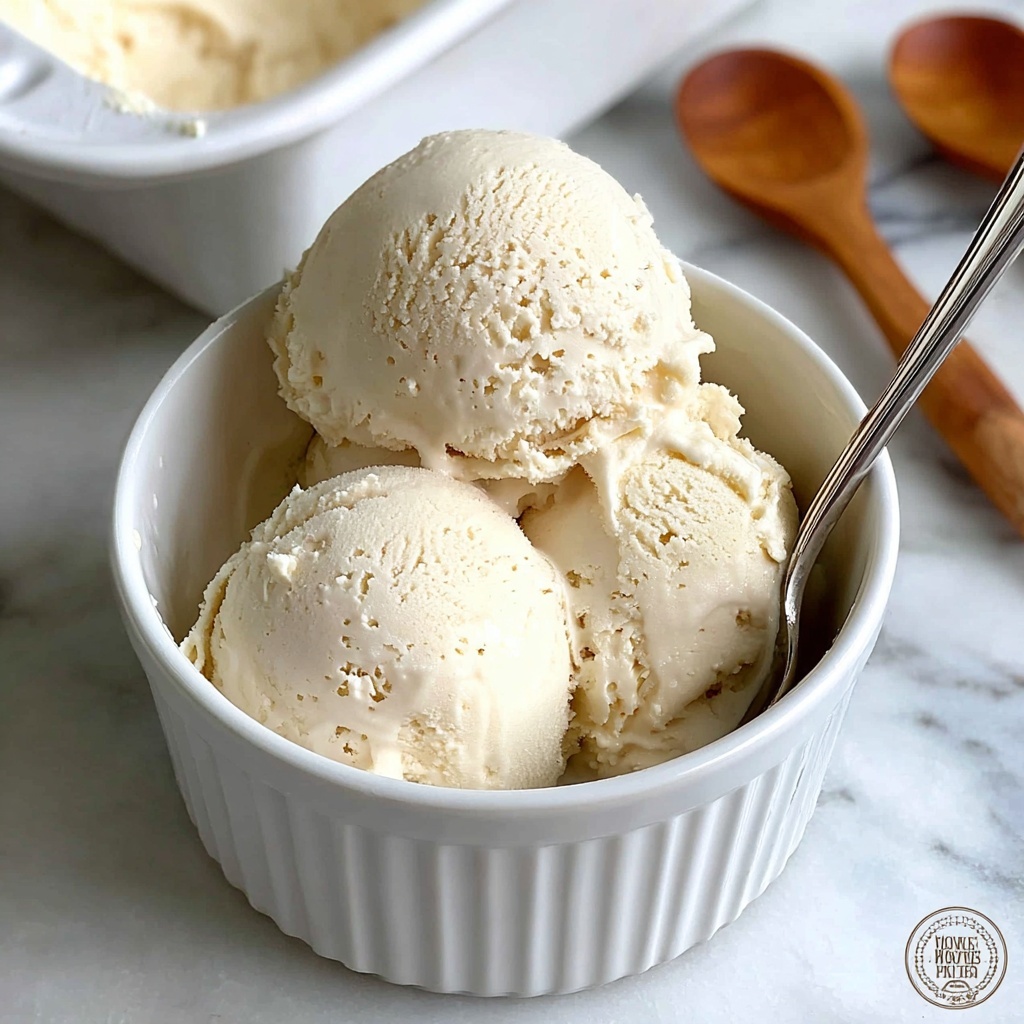
If you have ever dreamed of the perfect creamy, dreamy treat that’s totally plant-based, then you’re going to fall head over heels for this Vanilla Vegan Ice Cream: An Incredible Ultimate Recipe. This recipe combines the rich, velvety texture of full-fat coconut milk with the warm, comforting essence of pure vanilla to create a dessert that feels indulgent yet light. Whether you’re vegan, lactose intolerant, or simply an ice cream lover looking to try something new, this recipe will become your go-to delight for any occasion. Get ready to make homemade ice cream that’s not only easy but also irresistibly delicious!
Ingredients You’ll Need
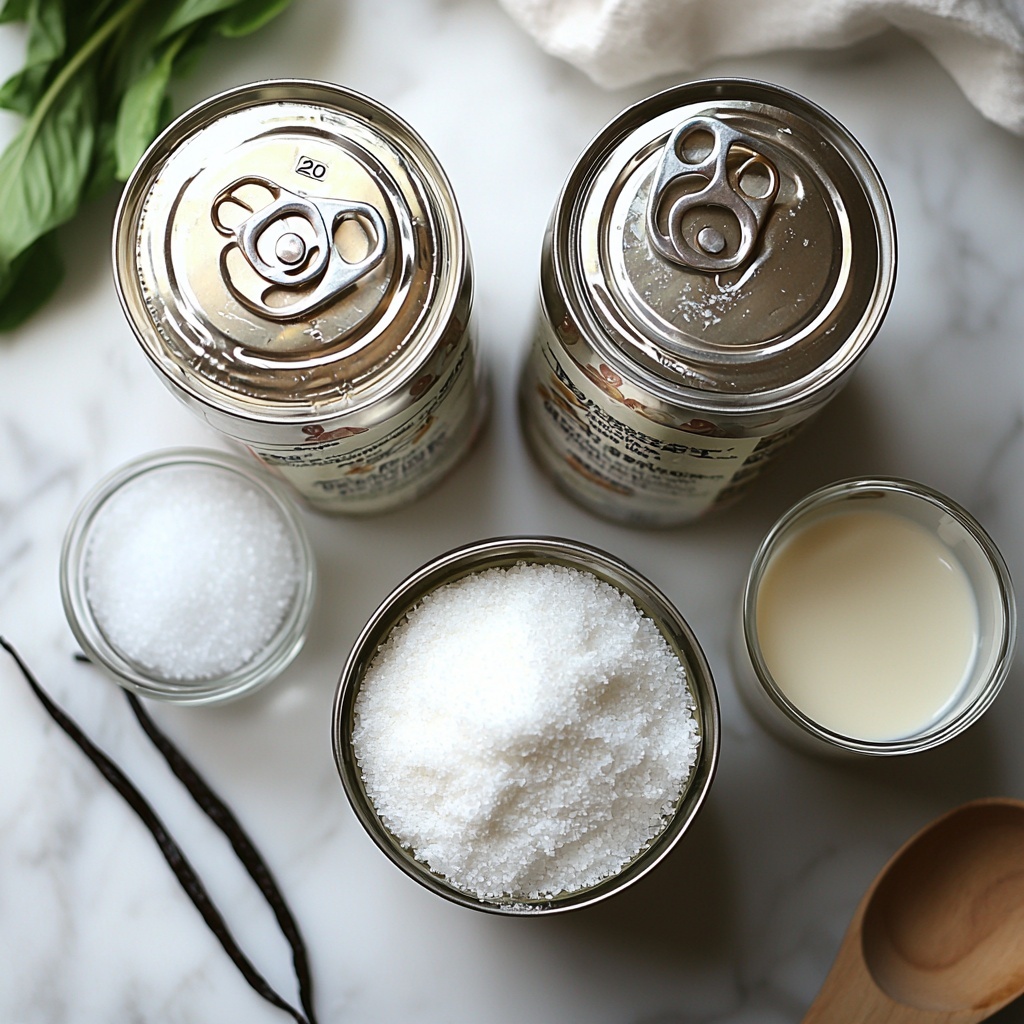
The magic of this Vanilla Vegan Ice Cream: An Incredible Ultimate Recipe lies in its simplicity and quality ingredients. Each one plays a crucial role—coconut milk brings creaminess, vanilla extract infuses that signature aroma, and a touch of cornstarch ensures a luscious texture. You don’t need a long list to make something incredible.
- Full-fat coconut milk (2 cans, 13.5 oz each): The base that gives the ice cream its rich, creamy body and silky mouthfeel.
- Granulated sugar (1 cup): Sweetens perfectly and balances out the coconut’s natural flavor. You can swap for your favorite sweetener if preferred.
- Vanilla extract (1 tablespoon): Provides that deep, classic vanilla flavor that defines this recipe.
- Salt (1/4 teaspoon): Enhances all the other flavors so they shine brilliantly in each bite.
- Cornstarch (1 tablespoon, optional): Acts as a thickener to make the texture extra smooth and creamy.
- Almond milk (1/2 cup): Adds just enough liquid to help mix everything perfectly and lighten the base slightly for churning.
How to Make Vanilla Vegan Ice Cream: An Incredible Ultimate Recipe
Step 1: Chill the Coconut Milk
Start by placing the cans of full-fat coconut milk in your refrigerator for at least 2 hours. This step is key because the cold coconut milk will separate naturally, allowing the cream to thicken, which is the secret to achieving that luscious, creamy texture.
Step 2: Mix Ingredients Thoroughly
Once chilled, open the cans and pour the coconut milk into a large mixing bowl. Add the granulated sugar, vanilla extract, and salt. Whisk everything together until the sugar dissolves completely and the mixture looks smooth and well combined. This blend is where your ice cream’s flavor truly starts to develop.
Step 3: Prepare Cornstarch Mixture (Optional)
If you want your ice cream to be especially creamy, dissolve the cornstarch in about 1/4 cup of almond milk in a small bowl until no lumps remain. Gradually whisk this into your coconut milk mixture. This extra step helps create a velvety texture that mimics traditional ice cream beautifully.
Step 4: Incorporate Remaining Almond Milk
Pour in the remaining almond milk and stir gently until fully incorporated. This balances the density from the coconut cream, ensuring the final ice cream isn’t too heavy while keeping it luscious.
Step 5: Chill the Mixture Before Churning
Cover your bowl with plastic wrap or a lid and pop it into the refrigerator for about 20 minutes. This additional chilling helps the mixture reach the optimal temperature for your ice cream maker to work its magic.
Step 6: Churn into Ice Cream
Pour the very cold mixture into your ice cream maker and churn following the manufacturer’s instructions. This process typically takes anywhere between 20 to 30 minutes, transforming the mix into soft-serve consistency that’s just waiting to be enjoyed or frozen.
Step 7: Freeze to Set
Transfer the churned ice cream to an airtight container. Use a spatula to smooth the top, then seal the container and place it in your freezer for at least 4 hours. This resting step lets the ice cream firm up to that perfect scoopable texture.
Step 8: Scoop and Savor
Before serving, let the ice cream sit out at room temperature for a few minutes. This makes scooping easier and releases the wonderful vanilla aroma, encouraging everyone around to dig in. Enjoy your creation that is the true definition of Vanilla Vegan Ice Cream: An Incredible Ultimate Recipe!
How to Serve Vanilla Vegan Ice Cream: An Incredible Ultimate Recipe
Garnishes
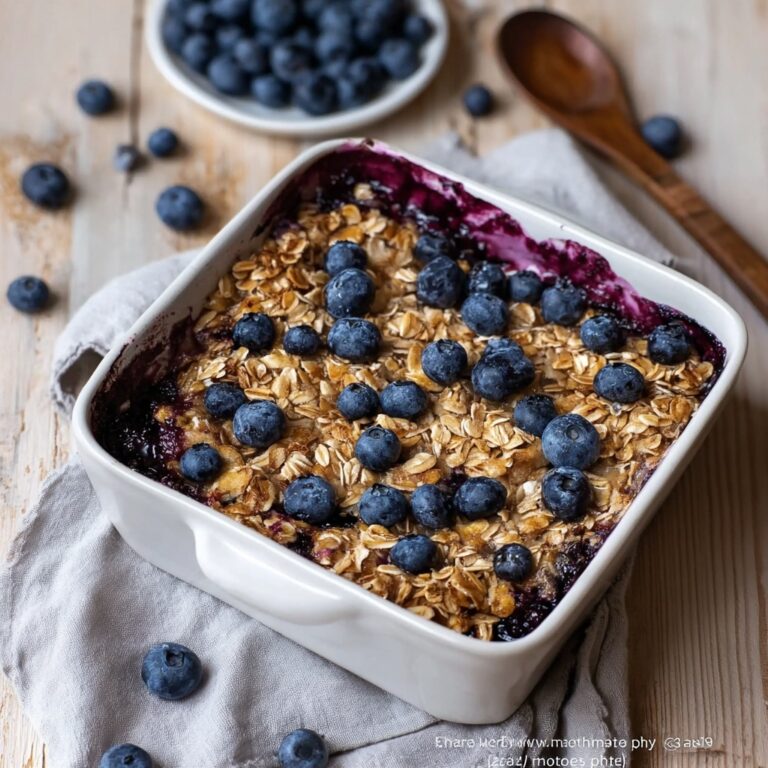
Sometimes simple is best: sprinkle with toasted coconut flakes, chopped nuts, or a drizzle of maple syrup to elevate flavors. Fresh berries like raspberries or blueberries add a pop of color and tartness that contrasts beautifully with the creamy vanilla base.
Side Dishes
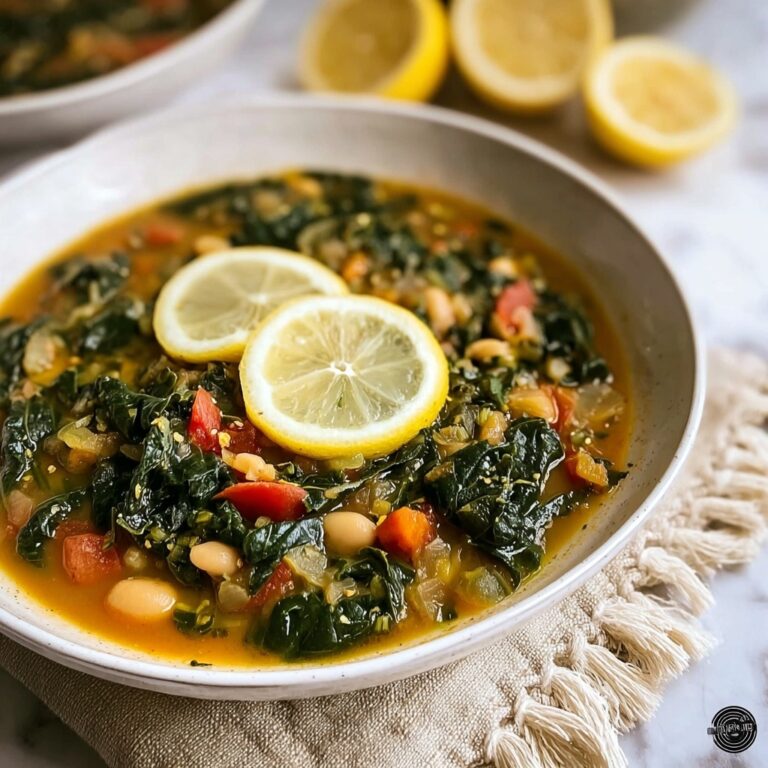
This ice cream pairs delightfully with warm fruit crisps, vegan brownies, or a slice of spiced gingerbread. The cold sweetness balances warm, textured sides, creating a memorable dessert experience perfect for any season.
Creative Ways to Present
For a show-stopping presentation, serve scoops in waffle cones or edible coconut bowls. Layer it in a parfait glass with vegan granola and fresh fruits for breakfast or a light dessert. Your creativity will shine just as much as the ice cream’s flavor.
Make Ahead and Storage
Storing Leftovers
Store any leftover ice cream in an airtight container with a tight-fitting lid to prevent ice crystals from forming. Keeping the container as full as possible minimizes extra air exposure and helps maintain that fresh creamy texture.
Freezing
You can freeze your Vanilla Vegan Ice Cream: An Incredible Ultimate Recipe for up to 2 weeks without sacrificing texture or flavor. Just remember to let it thaw briefly before serving so it’s scoopable and tastes its best.
Reheating
This ice cream is best enjoyed cold. Avoid reheating as it will melt and lose texture. Instead, let it soften at room temperature for a few minutes when you’re ready to serve.
FAQs
Can I make this ice cream without an ice cream maker?
Absolutely! While an ice cream maker creates the creamiest results, you can stir the mixture every 30 minutes while freezing to break up ice crystals. This manual churning helps develop a smoother texture.
Can I substitute coconut milk with another plant milk?
For the best creaminess, full-fat coconut milk is ideal. Other plant milks like cashew or soy won’t have the same richness but can work if combined with a thickener like cashew cream.
Is cornstarch necessary?
Cornstarch is optional but highly recommended if you prefer a creamier, less icy texture. It acts as a thickener that gives more body to the ice cream.
Can I sweeten this recipe with alternatives like maple syrup or agave?
Yes! You can swap granulated sugar for liquid sweeteners, but remember to adjust amounts to taste and check the consistency as liquid sweeteners may affect the final texture slightly.
How long does it take to churn the ice cream?
Churning usually takes between 20 to 30 minutes depending on your machine. You want to stop once the texture resembles soft serve before freezing solid.
Final Thoughts
I truly hope you embrace this Vanilla Vegan Ice Cream: An Incredible Ultimate Recipe as much as I do. It’s a simple joy made from wholesome ingredients that impress everyone with its creamy decadence and vibrant vanilla flavor. Treat yourself and your loved ones with this luscious homemade delight and watch it become a beloved favorite in your kitchen!
Print
Vanilla Vegan Ice Cream: An Incredible Ultimate Recipe
- Prep Time: 15 minutes
- Cook Time: 0 minutes
- Total Time: 4 hours 35 minutes
- Yield: About 1 quart (4 servings)
- Category: Dessert
- Method: Churning
- Cuisine: Vegan
- Diet: Vegan
Description
This delightful Vanilla Vegan Ice Cream recipe uses full-fat coconut milk as a creamy base combined with natural sweeteners and vanilla extract. It is a simple, no-dairy treat made with plant-based ingredients, perfect for those seeking a rich, creamy vegan dessert with a smooth texture enhanced by optional cornstarch. The recipe involves chilling and churning the mixture in an ice cream maker before freezing to achieve the perfect consistency.
Ingredients
Main Ingredients
- 2 cans (13.5 oz each) full-fat coconut milk
- 1 cup granulated sugar (or sweetener of choice)
- 1 tablespoon vanilla extract
- 1/4 teaspoon salt
- 1 tablespoon cornstarch (optional, for extra creaminess)
- 1/2 cup almond milk (or any plant-based milk of choice)
Instructions
- Chill Coconut Milk: Place the cans of coconut milk in the refrigerator for at least 2 hours to ensure they are cold, which helps with the texture and creaminess of the ice cream.
- Mix Ingredients: In a large mixing bowl, combine the chilled coconut milk, granulated sugar, vanilla extract, and salt. Whisk thoroughly until the sugar is completely dissolved to ensure an even sweetness.
- Prepare Cornstarch Mixture (Optional): If using cornstarch for extra creaminess, dissolve it in 1/4 cup of almond milk in a separate bowl until smooth. Then add this mixture to the coconut milk blend and whisk until thoroughly combined.
- Add Remaining Almond Milk: Slowly stir in the remaining almond milk (1/4 cup) to the mixture until fully incorporated, balancing the creaminess and consistency.
- Chill Mixture: Cover the bowl and place the mixture back in the refrigerator for about 20 minutes to ensure the mixture is very cold before churning.
- Churn Ice Cream: Pour the chilled mixture into an ice cream maker and churn according to the manufacturer’s instructions until the ice cream reaches a soft-serve consistency, typically around 20-30 minutes.
- Transfer to Container: Transfer the churned ice cream to an airtight container, smoothing the top with a spatula to prepare for freezing.
- Freeze: Place the container in the freezer for at least 4 hours or until firm to solidify the texture and make scooping easier.
- Scoop and Serve: When ready to serve, let the ice cream sit at room temperature for a few minutes to soften slightly, then scoop and enjoy your homemade vegan vanilla ice cream.
Notes
- Full-fat coconut milk is key for a rich and creamy texture.
- If you don’t have an ice cream maker, you can periodically stir the mixture while freezing to reduce ice crystals.
- Cornstarch is optional but adds creaminess and improves texture.
- Adjust sweetness to taste by choosing your preferred sweetener.
- Allow ice cream to soften a bit at room temperature before scooping for easier serving.
