
“`html
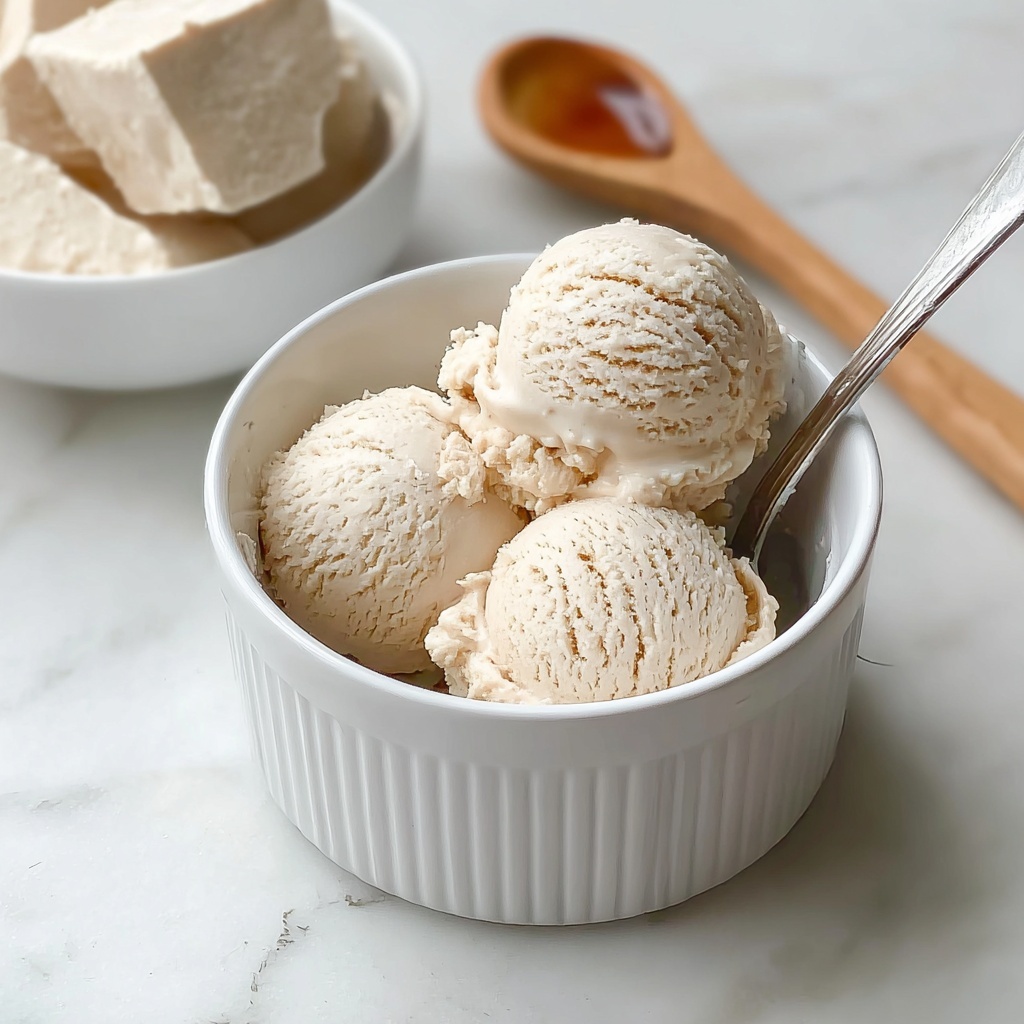
There is nothing quite like the creamy, dreamy delight of homemade frozen treats, and this Vanilla Vegan Ice Cream: An Incredible Ultimate Recipe is exactly that — a luscious dairy-free dessert that will make you forget traditional ice creams ever existed. With rich coconut milk, the warm embrace of vanilla, and the perfect touch of sweetness, this recipe delivers a silky texture and pure flavor that will have you hooked from the very first bite. Whether you’re vegan, lactose-intolerant, or simply craving a refreshing scoop on a sunny day, this incredible ultimate recipe is destined to become your new favorite go-to.
Ingredients You’ll Need
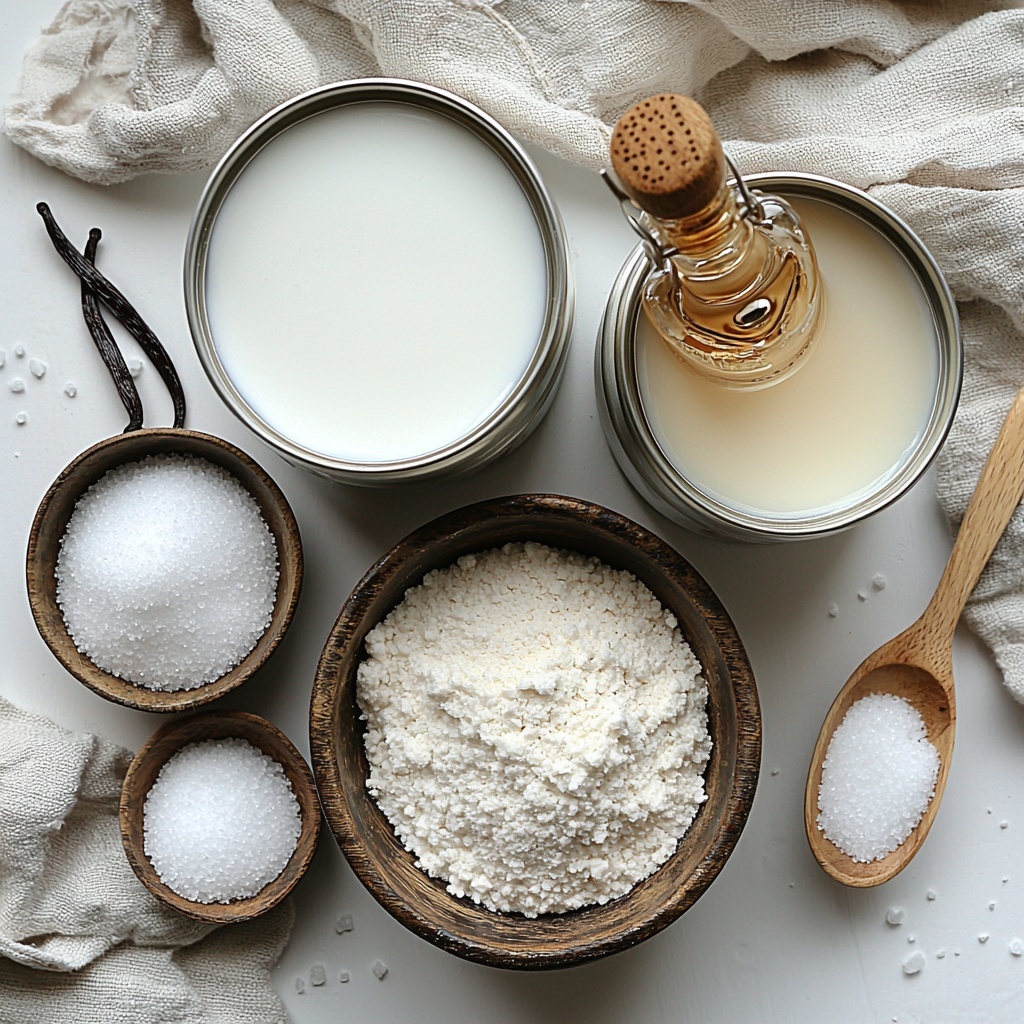
Crafting this Vanilla Vegan Ice Cream is wonderfully straightforward because the ingredients are simple but mighty in how they build layers of flavor and creaminess. Each ingredient brings its own magic that combines into the perfect frozen treat.
- Full-fat coconut milk (2 cans, 13.5 oz each): The foundation of creaminess and that rich, tropical base taste you’ll love.
- Granulated sugar (1 cup): Sweetens naturally, but feel free to swap with your favorite sweetener for a personal twist.
- Vanilla extract (1 tablespoon): Adds warmth and depth; choose pure vanilla for that authentic aroma.
- Salt (1/4 teaspoon): Just a pinch enhances all the flavors without being salty.
- Cornstarch (1 tablespoon, optional): For those craving extra creaminess and a smoother mouthfeel.
- Almond milk (1/2 cup): Lightens the mixture slightly and helps achieve the perfect texture; any plant-based milk will do.
How to Make Vanilla Vegan Ice Cream: An Incredible Ultimate Recipe
Step 1: Chill the Coconut Milk
Patience here is key: place your cans of coconut milk in the refrigerator for at least two hours. This chilling step allows the cream to solidify at the top, making it easier to whip up that irresistibly creamy texture we’re aiming for.
Step 2: Mix the Base Ingredients
In a large mixing bowl, combine the chilled coconut milk, sugar, vanilla extract, and salt. Whisk everything together until the sugar has completely dissolved; this ensures every bite will be evenly sweet and flavorful.
Step 3: Add Cornstarch for Creaminess (Optional)
If you want to elevate the creaminess a notch higher, dissolve the cornstarch in 1/4 cup of almond milk until smooth. Stir this mixture into your coconut milk blend and whisk well to incorporate. This little extra step creates an ultra-silky texture that feels like pure indulgence.
Step 4: Incorporate the Remaining Almond Milk
Slowly pour in the rest of the almond milk, folding it gently into the mixture. This balances richness with just the right touch of creaminess and keeps your ice cream from becoming too dense.
Step 5: Chill the Mixture Again
Cover your bowl tightly and refrigerate your ice cream base for about 20 minutes. Keeping the mixture very cold before churning helps it freeze evenly and speeds up the transition to a soft-serve consistency.
Step 6: Churn to Perfection
Pour your chilled mixture into your ice cream maker and follow the manufacturer’s instructions. Churn until the texture is soft and creamy, just like your favorite ice cream from a premium shop.
Step 7: Freeze Until Firm
Transfer your freshly churned ice cream to an airtight container. Smooth the top with a spatula, then place it in the freezer for at least four hours to achieve that perfect scoopable firmness.
Step 8: Scoop and Enjoy
When you’re ready to indulge, let the ice cream sit out for a few minutes at room temperature — this makes scooping easier and enhances the silky texture. Then dive in and savor every spoonful of your homemade masterpiece.
How to Serve Vanilla Vegan Ice Cream: An Incredible Ultimate Recipe
Garnishes
Serving this ice cream is a chance to get creative! Sprinkle it with chopped toasted nuts, vibrant fresh berries, or a drizzle of vegan chocolate syrup. Even a dusting of cinnamon or a few shavings of coconut add visual appeal and a burst of flavor that complements the vanilla beautifully.
Side Dishes
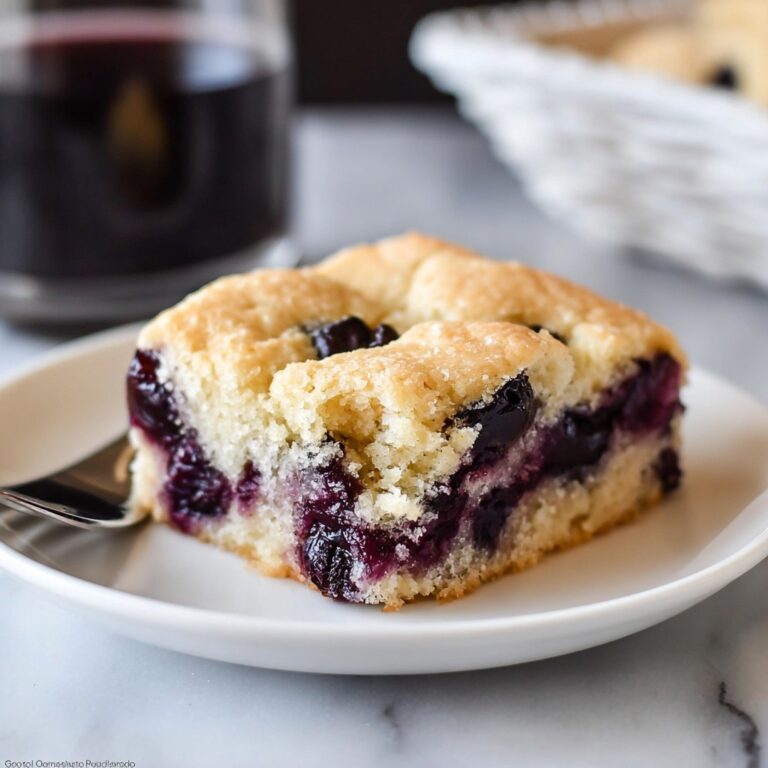
This vanilla vegan ice cream pairs wonderfully with fruit crisps, warm berry cobblers, or a slice of rich vegan chocolate cake. The contrast between hot and cold, soft and creamy, makes every bite interesting and satisfying.
Creative Ways to Present
Think beyond scoops in bowls—serve this incredible ultimate recipe in waffle cones, atop vegan donuts, or even layered in parfait glasses with granola and fruit. For gatherings, a DIY sundae bar with various toppings invites everyone to customize their sweet treat.
Make Ahead and Storage
Storing Leftovers
Keep any leftover Vanilla Vegan Ice Cream stored in an airtight container in the freezer. Proper sealing prevents ice crystals from forming and keeps your homemade ice cream tasting fresh and creamy for up to a week or more.
Freezing
When freezing your ice cream, pressing a piece of parchment directly on the surface before sealing helps prevent freezer burn and keeps the texture just right. Freeze it for at least 4 hours or until firm, but it’s also delightful when slightly softer if you prefer.
Reheating
This ice cream is best enjoyed straight from the freezer after a few minutes at room temperature. Avoid microwaving since heating will melt everything down and ruin that luscious creamy texture we worked so hard to create.
FAQs
Can I use a different nut milk instead of almond milk?
Absolutely! Feel free to substitute almond milk with soy, oat, cashew, or any other plant-based milk you prefer. Each will subtly change the flavor and texture, but the recipe remains delicious and creamy.
Is cornstarch necessary for the recipe?
Cornstarch is optional but recommended if you want an extra silky and thick texture. If you prefer a lighter ice cream, you can skip it without sacrificing flavor.
Can I make this recipe without an ice cream maker?
Yes! You can pour the mixture into a shallow container, freeze it, and stir every 30 minutes until firm to mimic the churning process and prevent ice crystals, though the texture might be slightly less smooth.
How long does Vanilla Vegan Ice Cream last in the freezer?
Stored properly in an airtight container, this ice cream can last up to two weeks while maintaining great flavor and texture. Beyond that, it might develop crystallization or off-flavors.
Can I add mix-ins like chocolate chips or fruit?
Definitely. Add chocolate chips, chopped nuts, or swirl in fruit preserves during the last few minutes of churning for a personalized touch that pairs wonderfully with vanilla’s natural flavor.
Final Thoughts
I cannot recommend this Vanilla Vegan Ice Cream: An Incredible Ultimate Recipe enough. It’s creamy, flavorful, and surprisingly easy to make at home, perfect for any occasion whether it’s a casual treat or a show-stopping dessert. Give it a try, share it with friends, and watch this become an all-time favorite in your recipe collection.
“`
Print
Vanilla Vegan Ice Cream: An Incredible Ultimate Recipe
- Prep Time: 15 minutes plus 2 hours chilling coconut milk
- Cook Time: 0 minutes (no cooking required)
- Total Time: Approximately 6 hours 15 minutes (includes chilling and freezing times)
- Yield: About 1 quart (4 cups) of vegan vanilla ice cream
- Category: Dessert
- Method: Churning (Ice Cream Maker)
- Cuisine: Vegan
- Diet: Vegan
Description
This Vanilla Vegan Ice Cream recipe offers a rich and creamy dairy-free dessert made from full-fat coconut milk and natural vanilla extract. It’s a simple, delicious treat perfect for vegans and anyone looking for a refreshing, plant-based ice cream alternative. With optional cornstarch for extra creaminess and an ice cream maker for churned texture, this recipe yields smooth, flavorful vegan vanilla ice cream that’s easy to make at home.
Ingredients
Ice Cream Base
- 2 cans (13.5 oz each) full-fat coconut milk
- 1 cup granulated sugar (or sweetener of choice)
- 1 tablespoon vanilla extract
- 1/4 teaspoon salt
Thickening and Additional Liquid
- 1 tablespoon cornstarch (optional, for extra creaminess)
- 1/2 cup almond milk (or any plant-based milk of choice)
Instructions
- Chill Coconut Milk: Place the cans of coconut milk in the refrigerator for at least 2 hours until thoroughly chilled. This step is vital to separate the cream from the liquid and achieve the right ice cream texture.
- Mix Ingredients: In a large mixing bowl, combine the chilled coconut milk, granulated sugar, vanilla extract, and salt. Whisk continuously until the sugar has fully dissolved for a smooth mixture.
- Prepare Cornstarch Mixture (Optional): If you choose to use cornstarch for extra creaminess, dissolve it in 1/4 cup of almond milk in a separate small bowl until smooth, then add this to the coconut milk mixture and whisk together thoroughly.
- Add Remaining Almond Milk: Gradually stir in the remaining 1/4 cup of almond milk (to total 1/2 cup almond milk), ensuring the mixture is uniform and fully combined.
- Chill Mixture: Cover the bowl with plastic wrap or a lid and place it in the refrigerator for about 20 minutes to ensure the mixture is very cold, which helps during the churning process.
- Churn Ice Cream: Pour the chilled mixture into an ice cream maker. Follow your ice cream maker’s instructions and churn until the mixture reaches a soft-serve consistency, typically about 20-30 minutes.
- Transfer to Container: Move the churned ice cream into an airtight container, smoothing the top evenly using a spatula to prevent ice crystals.
- Freeze Until Firm: Place the container in the freezer for at least 4 hours to let the ice cream fully set and firm up.
- Scoop and Serve: Before serving, allow the ice cream to sit at room temperature for a few minutes to soften slightly, making it easier to scoop and enjoy.
Notes
- Using full-fat coconut milk is essential for the creaminess and texture of the ice cream.
- Cornstarch is optional but highly recommended for a smoother and firmer texture.
- You can substitute almond milk with other plant-based milks like oat, soy, or cashew for different flavors.
- If you don’t have an ice cream maker, you can freeze the mixture in a shallow container and stir vigorously every 30 minutes until firm.
- Store ice cream in an airtight container to prevent freezer burn and maintain freshness.


