
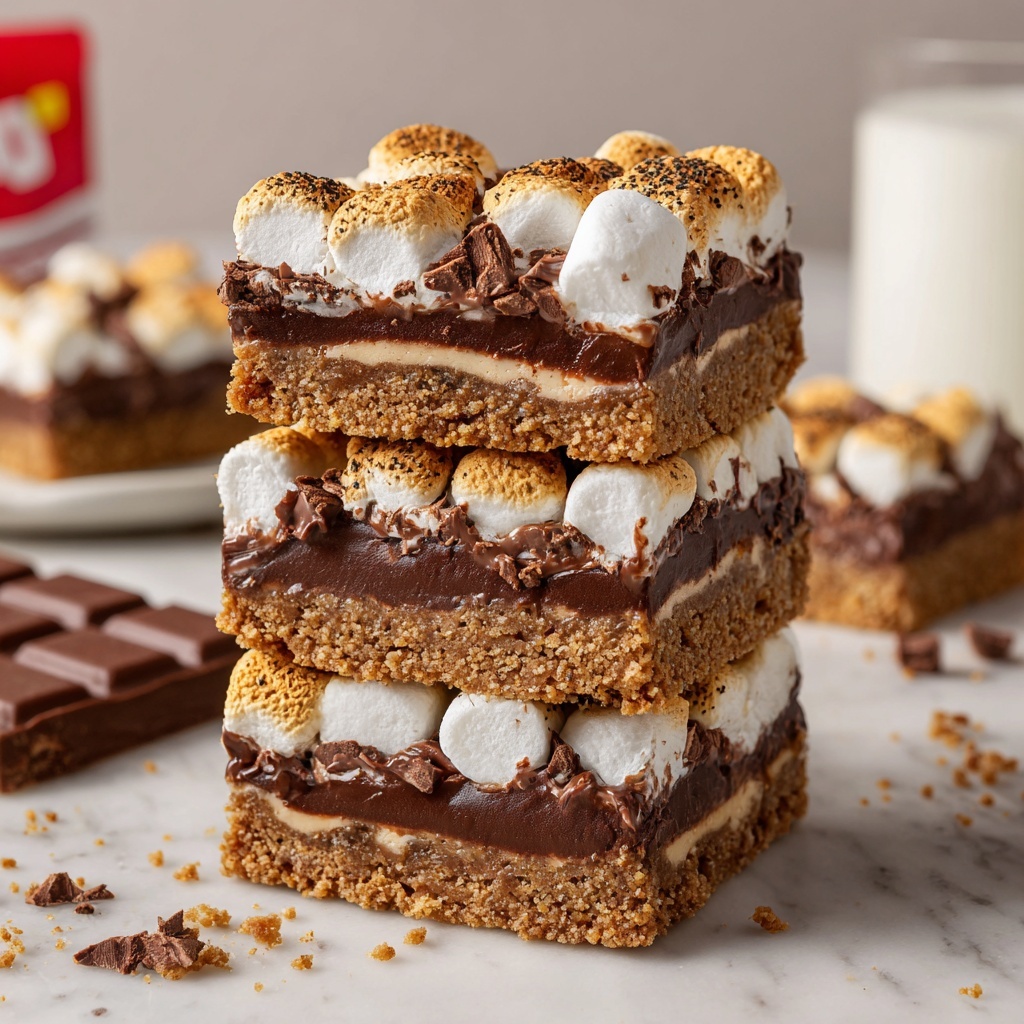
If you are on the hunt for the ultimate indulgent treat that instantly transports you to cozy campfire nights, this S’mores Bar Recipe is your new best friend. It captures all the gooey chocolate, melty marshmallow, and crispy graham cracker goodness in every bite, simplified into a spectacular bar form. Whether you’re craving a fun dessert for a party or a sentimental sweet snack, this recipe delivers a blissful texture and flavor combo that everyone will adore.
Ingredients You’ll Need
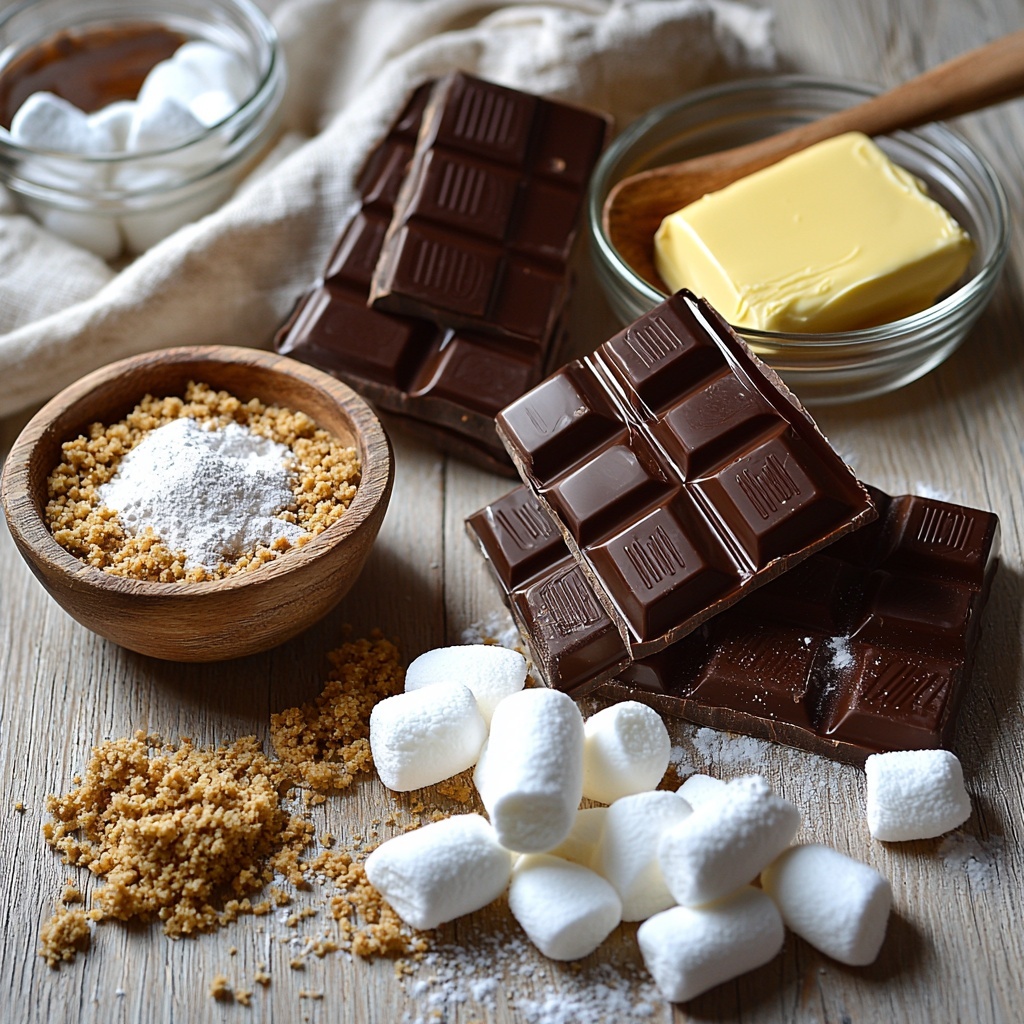
Each ingredient in this S’mores Bar Recipe plays a starring role in creating the perfect balance of crunch, gooeyness, and sweetness. From the buttery crumbly crust to the melty chocolate layers and fluffy marshmallows, these simple components come together beautifully with minimal fuss.
- 2 Cups graham cracker crumbs: Provides a crunchy and slightly sweet base that mimics classic s’mores crust.
- 8-12 Tablespoons butter (melted): Adds richness and binds the graham cracker crumbs into a sturdy crust.
- 1/2 Cup powdered sugar: Gives a subtle sweetness and helps with the texture of the crust.
- 4 Hershey Chocolate Bars (4.4 oz each): Melts into a rich, nostalgic chocolate layer that pairs perfectly with the marshmallows.
- 1 package mini marshmallows: Creates a fluffy, golden toasted topping that melts just the right amount.
How to Make S’mores Bar Recipe
Step 1: Prepare the Crust
Start by preheating your oven to 350 degrees and greasing a 9×13 pan with non-stick butter spray. This simple step ensures nothing sticks and your crust bakes evenly.
Step 2: Mix the Base
In a medium bowl, stir together the graham cracker crumbs, powdered sugar, and melted butter. The butter’s temperature matters here—make sure it’s melted but not hot enough to melt your sugar, so everything blends into a deliciously textured crust mixture.
Step 3: Press and Bake the Crust
Press this crumbly mixture firmly and evenly into the bottom and sides of your prepared pan using your fingers. This step packs the crust so that it holds together after baking. Bake it for 5 to 8 minutes until the edges turn lightly golden. Remember, the crust hardens as it cools, so don’t overbake.
Step 4: Add the Chocolate Layer
Once the crust has cooled slightly, lay out the Hershey’s chocolate bars over the crust, covering as much of the surface as possible. Pop the pan back into the oven for 3 minutes, just until the chocolate starts to melt and shines but hasn’t completely liquefied—you want it spreadable, not drippy.
Step 5: Toast the Marshmallow Topping
Allow the chocolate to cool 1 to 2 minutes, then pack mini marshmallows tightly across the top. Change your oven setting to broil, watch incredibly closely, and broil for about 2 minutes. This step is crucial—marshmallows brown quickly and can burn fast if unattended, so keep your eyes on them like a hawk for that perfect golden toasted finish.
Step 6: Cool and Serve
Let your s’mores bars cool completely. For cleaner slicing and easier serving, pop the pan in the fridge once cooled to set the layers. When ready, use a sharp knife warmed under hot water, wiped dry, and slice through these delectable bars for less sticky, mess-free pieces.
How to Serve S’mores Bar Recipe
Garnishes
Although perfectly scrumptious on their own, you can sprinkle a bit of crushed graham crackers on top, or drizzle with caramel or chocolate sauce to elevate the presentation and add extra indulgence.
Side Dishes
Serve alongside a scoop of vanilla bean ice cream or a dollop of whipped cream for a complete dessert experience. Fresh berries such as strawberries or raspberries provide a lovely tartness to contrast the sweet richness.
Creative Ways to Present
Consider layering these s’mores bars in small mason jars for a cute individual treat at parties. You can also cut them into bite-size squares and skewer with toothpicks for easy, mess-free snacking during gatherings.
Make Ahead and Storage
Storing Leftovers
Store any leftover bars in an airtight container at room temperature for up to 2 days, or refrigerate for up to 5 days. Refrigeration helps keep the marshmallow topping firm but be sure to bring them to room temperature slightly before serving for best texture.
Freezing
This S’mores Bar Recipe freezes beautifully. Wrap individual bars tightly in plastic wrap and place in a freezer-safe container or bag for up to 2 months. Thaw overnight in the fridge before enjoying.
Reheating
To revive a slightly chilled or refrigerated bar, microwave for 10-15 seconds just until the chocolate softens again. Avoid overheating or the marshmallows may become too sticky.
FAQs
Can I use different chocolate bars?
Absolutely! While Hershey bars provide that classic flavor, you can experiment with milk, semi-sweet, or even flavored chocolate bars for a twist on this S’mores Bar Recipe.
What if I don’t have mini marshmallows?
Large marshmallows can work too—just chop them into smaller pieces so they spread evenly on top. The toasting time might vary slightly.
Is there a way to make this recipe gluten-free?
Yes, swap the graham cracker crumbs for gluten-free graham crackers or an alternative gluten-free crumb base to keep the same texture and taste.
Can I double the recipe?
Definitely! Just use a larger pan and adjust baking times slightly—keep an eye on the crust so it doesn’t overbake.
Why is the crust sometimes soft after baking?
Make sure to bake just until the edges are lightly golden and let it cool completely; the crust firms up as it cools. Pressing firmly before baking also helps ensure a sturdy base.
Final Thoughts
This S’mores Bar Recipe is an absolute crowd-pleaser that combines nostalgia with simple prep and effortless indulgence. Once you try it, it’s easy to see why these bars are irresistible and perfect for any occasion. So grab your ingredients and make some magic happen—you will be delighted with every gooey, crunchy bite!
Print
S’mores Bar Recipe
- Prep Time: 10 minutes
- Cook Time: 15 minutes
- Total Time: 25 minutes
- Yield: 16 servings
- Category: Dessert
- Method: Baking
- Cuisine: American
Description
This delicious S’mores Bar recipe transforms the classic campfire treat into an easy-to-make dessert perfect for indoor gatherings. Featuring a crispy graham cracker crust, melted Hershey’s chocolate bars, and toasted mini marshmallows, these bars combine all your favorite s’mores flavors in a convenient bake-and-broil method that yields gooey, irresistible squares sure to please any crowd.
Ingredients
Crust
- 2 Cups graham cracker crumbs
- 8–12 Tablespoons melted butter
- 1/2 Cup powdered sugar
Topping
- 4 Hershey Chocolate Bars (4.4 ounce bars each)
- 1 package mini marshmallows
Instructions
- Preheat Oven: Preheat the oven to 350°F (175°C) to prepare for baking the crust and melting the chocolate layers.
- Prepare Pan: Grease a 9×13 inch baking pan with non-stick butter spray, ensuring the bars won’t stick after baking.
- Mix Crust Ingredients: In a medium bowl, combine graham cracker crumbs, powdered sugar, and melted butter. Stir the mixture thoroughly to form a crumbly, moist crust base.
- Press Crust: Transfer the crumb mixture evenly to the bottom of the prepared pan. Press firmly and evenly along the bottom and sides with your fingers to pack the crust tightly.
- Bake Crust: Bake the crust in the preheated oven for about 5-8 minutes, or until the edges start turning golden brown. The crust will harden as it cools.
- Cool Crust: Remove the pan from the oven and allow it to cool slightly before adding toppings.
- Layer Chocolate: Place the four Hershey chocolate bars evenly over the cooled crust, covering it completely.
- Melt Chocolate: Return the pan to the oven and bake for approximately 3 minutes until the chocolate starts to melt and becomes shiny.
- Cool Slightly: Let the chocolate layer cool for 1-2 minutes to set slightly but remain soft.
- Add Marshmallows: Spread mini marshmallows closely packed on top of the melted chocolate layer.
- Broil Marshmallows: Switch the oven setting to broil. Place the pan under the broiler and watch carefully for about 1-2 minutes until marshmallows turn golden brown. Since broilers vary, monitor closely to prevent burning.
- Cool Completely: Remove from oven and let the s’mores bars cool fully. For easier cutting, refrigerate bars to set them further.
- Serve: Cut into squares using a sharp knife warmed under hot water to avoid sticking. Enjoy these gooey and crunchy s’mores bars!
Notes
- The amount of melted butter can be adjusted between 8 to 12 tablespoons depending on desired crust firmness.
- Pressing the crust firmly ensures a sturdy base that holds the toppings well.
- Watch the broiler carefully as marshmallows burn quickly once they start to brown.
- Chilling the bars after cooking makes slicing cleaner and less sticky.
- Use a sharp knife warmed with hot water for smoother cuts through the sticky marshmallow topping.


