
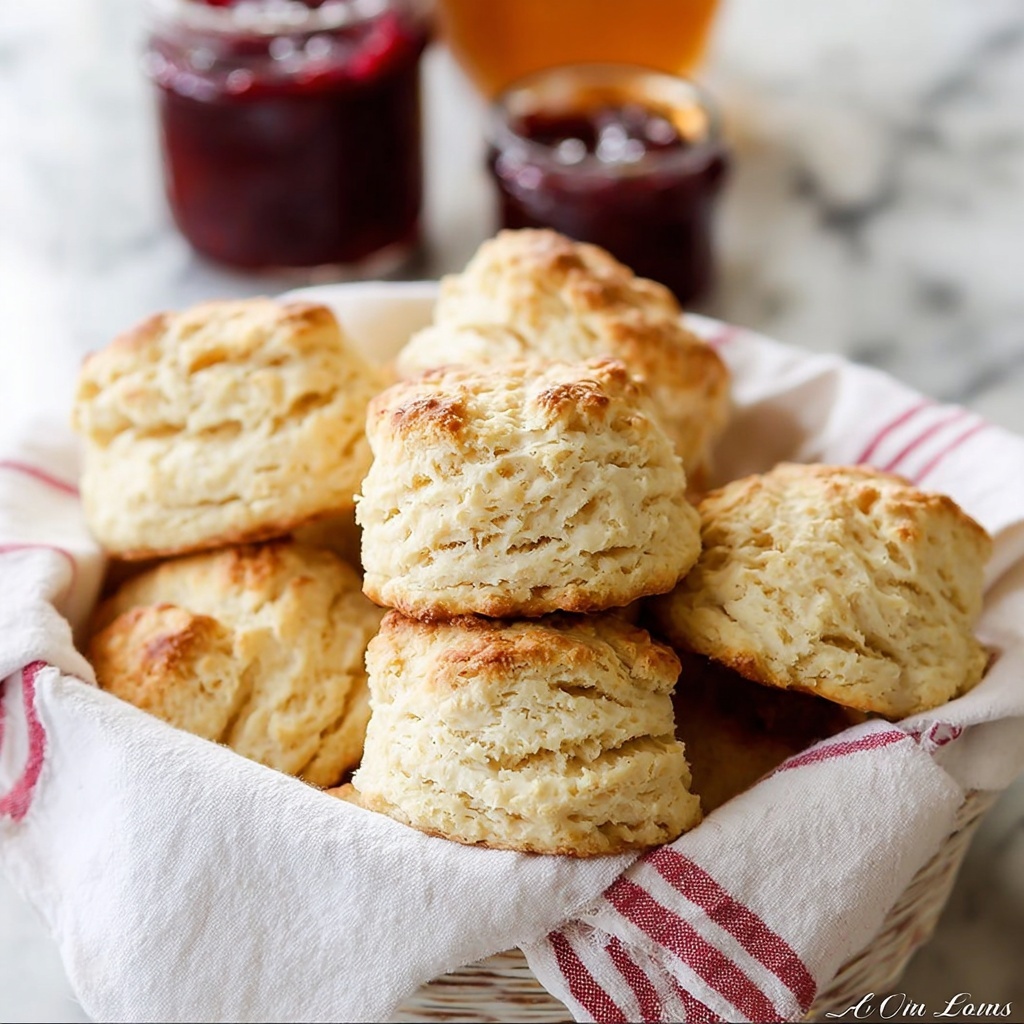
If you’ve ever craved the warm, flaky comfort of fresh-from-the-oven biscuits, you’re in for a real treat with this Easy Buttermilk Biscuits Recipe. Perfectly tender on the inside with a golden, buttery crust, these biscuits are surprisingly simple to whip up yet utterly impressive. Each bite carries the tangy richness of cultured buttermilk and the gentle flakiness that only a careful folding technique can create. Whether it’s for a cozy breakfast or an elevated dinner side, this recipe is a keeper you’ll want to reach for again and again.
Ingredients You’ll Need
These ingredients are wonderfully straightforward, but each plays an essential role in creating the perfect biscuit texture and flavor. From the reliable self-rising flour offering just the right lift to the cold butter providing those irresistible layers, every element counts.
- 2 cups White Lily Self-Rising Flour: This flour gives a light and tender crumb thanks to its lower protein content and built-in leavening.
- 1/2 cup cold unsalted butter: Keeping this cold is crucial for flaky layers; cutting it into pea-sized pieces helps distribute it evenly.
- 3/4 cup cultured nonfat buttermilk: Adds moisture and a subtle tang that balances the biscuit’s buttery richness.
- 2 tablespoons unsalted butter, melted: A final brush on top for that golden, shiny finish and extra buttery flavor.
How to Make Easy Buttermilk Biscuits Recipe
Step 1: Preheat and Prepare
Start by heating your oven to 450°F and lining a baking pan with a silicone baking mat or parchment paper. This prep ensures your biscuits won’t stick and bake evenly, helping them develop a beautiful golden crust.
Step 2: Measure and Mix the Flour
Measure the flour carefully by spooning it into a dry measuring cup and leveling it off for accuracy. Place it into a large mixing bowl, which will be your biscuit base. Since we’re relying on self-rising flour, it’s important to avoid packing it down to keep your biscuits airy.
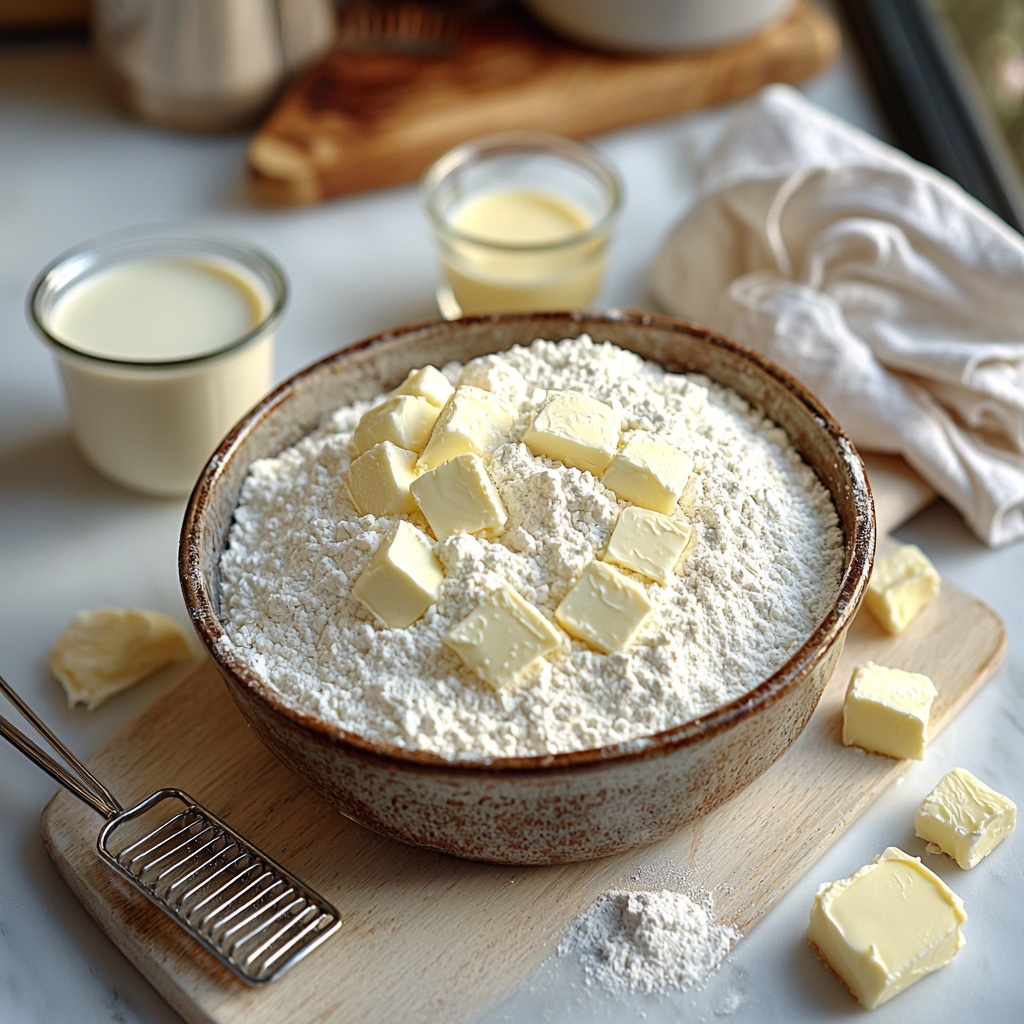
Step 3: Cut in the Butter
Here comes the magic: cut that cold butter into the flour using a pastry blender or by grating frozen butter and stirring it in. The goal is to get small, pea-sized chunks dispersed throughout the flour, which will melt during baking to create those gorgeous flaky layers you love.
Step 4: Incorporate the Buttermilk
Pour in the buttermilk and stir gently until just combined. You want the dough to be thick, somewhere between mashed potatoes and dough-like, but beware of overmixing. Too sticky? Add a touch more flour. Too dry? A splash more buttermilk will help bring it together.
Step 5: Fold for Flaky Layers
Turn the dough onto a floured surface and knead lightly if needed. Flatten it into a rectangle, then fold it into thirds like a letter. Repeat this tri-fold process two more times, dusting with flour as necessary. Folding creates those delightful layers that separate beautifully when baked.
Step 6: Cut and Arrange the Biscuits
Flatten the dough to about 3/4 to 1 inch thick, then cut out biscuits using a floured, sharp 2 to 2 1/2-inch cutter. To keep biscuits rising straight up, press down with a quick up-and-down motion without twisting the cutter. Arrange them close together on the pan for tender edges or spaced apart for crunchier sides. Don’t forget to re-roll scraps for extra biscuits!
Step 7: Bake and Butter the Tops
Brush the tops generously with melted butter before baking. Pop the pan in the preheated oven for about 15 minutes until the biscuits are puffed and golden. The melted butter helps form that inviting golden crust and adds a burst of flavor.
How to Serve Easy Buttermilk Biscuits Recipe
Garnishes
While these biscuits are delicious as-is, adding a pat of honey butter, a sprinkle of flaky sea salt, or a dollop of your favorite jam can elevate them instantly. Fresh herbs like chopped chives or thyme also add a lovely hint of freshness and color.
Side Dishes
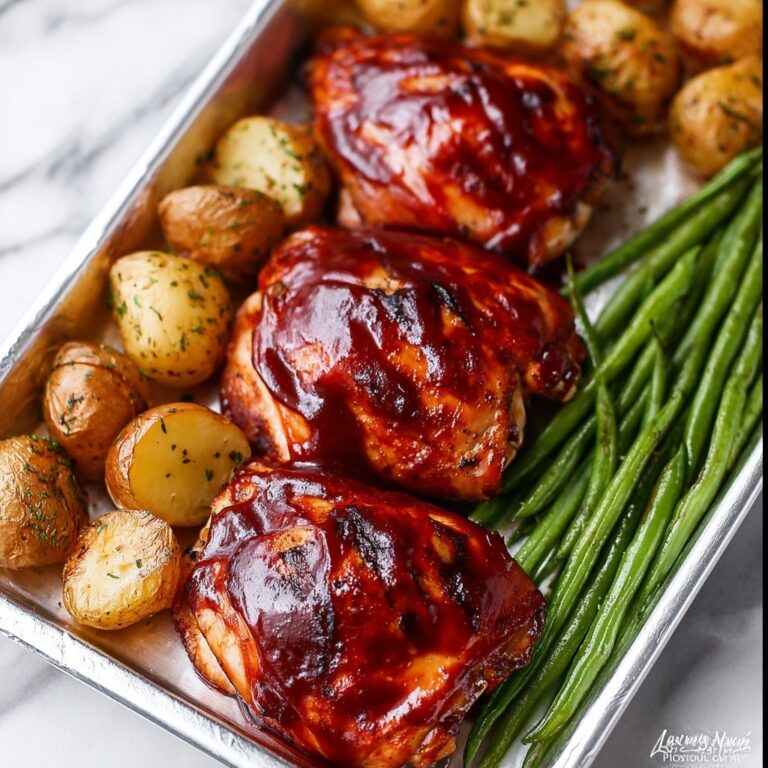
Easy Buttermilk Biscuits Recipe pairs beautifully with classic Southern sides like creamy gravy, scrambled eggs, or crispy bacon. For dinner, they’re perfect alongside stews, fried chicken, or roasted vegetables to soak up every last bit of savory sauce.
Creative Ways to Present
Transform these biscuits into sliders bursting with pulled pork or fried chicken for a fun crowd-pleaser. Or slice them open and fill with fresh fruit and whipped cream for a delightful brunch treat. The flaky texture makes them a fantastic base for both sweet and savory toppings.
Make Ahead and Storage
Storing Leftovers
Wrap your leftover biscuits tightly in plastic wrap or store in an airtight container at room temperature for up to two days. They remain tender and fresh, ready to be reheated and enjoyed without much loss of quality.
Freezing
To freeze, place cooled biscuits in a single layer on a baking sheet and freeze until solid. Then transfer them to a freezer-safe bag or container. Frozen biscuits keep well for up to three months and are perfect for an easy breakfast on busy mornings.
Reheating
Reheat biscuits in a 350°F oven for 10 to 12 minutes or until warmed through. If you’re in a hurry, a quick zap in the microwave (about 15-20 seconds) works, but the oven method preserves the crisp edges and flaky layers best.
FAQs
Can I use regular flour instead of self-rising flour?
Yes, but you’ll want to add baking powder and salt to your flour to mimic the leavening effects in self-rising flour. For every cup of all-purpose flour, add 1 1/2 teaspoons baking powder and 1/4 teaspoon salt.
Why is the butter cold in this recipe?
Cold butter helps create steam during baking which results in flaky, layered biscuits. If the butter melts before baking, your biscuits could turn out dense and greasy.
Can I substitute whole milk or regular milk for buttermilk?
Buttermilk is key for the signature tang and tender texture, but if you don’t have it, you can make a substitute by adding 1 tablespoon of lemon juice or white vinegar to 3/4 cup of milk, letting it sit for 5 minutes before use.
How do I get soft edges versus crisp edges?
Place biscuits touching each other on the baking pan for soft, tender sides. Spacing them apart allows the edges to crisp up more, perfect if you prefer a bit of crunch.
Is it okay to twist the cutter when cutting biscuits?
It’s best to avoid twisting because it seals the edges and can prevent proper rising. Press straight down and lift straight up for the best flaky texture.
Final Thoughts
There’s something truly comforting about pulling warm, flaky biscuits fresh from the oven, and this Easy Buttermilk Biscuits Recipe makes it effortless to achieve that homemade magic. Whether you’re a novice baker or a seasoned pro, these biscuits will quickly become a beloved staple in your kitchen. So gather your ingredients, turn up the oven, and get ready to enjoy biscuits that taste like a warm hug on a plate.
Print
Easy Buttermilk Biscuits Recipe
- Prep Time: 15 minutes
- Cook Time: 15 minutes
- Total Time: 30 minutes
- Yield: 10 to 12 biscuits
- Category: Baking
- Method: Baking
- Cuisine: Southern American
Description
This Easy Buttermilk Biscuits recipe yields soft, flaky, and tender biscuits perfect for breakfast or as a side for any meal. Made with simple ingredients like self-rising flour, cold butter, and cultured buttermilk, these biscuits are quick to prepare and bake to golden perfection in just 15 minutes.
Ingredients
Dry Ingredients
- 2 cups White Lily Self-Rising Flour
Butter
- 1/2 cup cold unsalted butter
- 2 tablespoons unsalted butter, melted (for brushing)
Wet Ingredients
- 3/4 cup cultured nonfat buttermilk
Instructions
- Preheat and Prepare Baking Surface: Preheat your oven to 450°F (232°C) and line a baking pan with a silicone baking mat or parchment paper to prevent sticking and ensure easy cleanup.
- Measure Flour: Spoon the self-rising flour into a dry measuring cup and level it off with a knife to get an accurate measurement.
- Cut in Cold Butter: Using a pastry blender, cut the cold unsalted butter into the flour until the pieces are about the size of small peas. Alternatively, freeze the butter and grate it using a box grater, then mix into the flour to ensure flaky texture.
- Add Buttermilk: Pour in the cultured nonfat buttermilk and stir gently until the dough just comes together. The dough should resemble thick mashed potatoes, not overly sticky. Adjust with more flour or buttermilk as necessary.
- Knead and Fold Dough: Turn the dough out onto a floured surface and knead gently a few times if it’s not holding together well. Flatten into a rectangle, then fold into thirds like a letter (tri-fold) to create layers. Repeat this tri-fold and flatten process about three times, lightly dusting with flour to prevent sticking.
- Shape and Cut Biscuits: Flatten the dough to about 3/4 to 1 inch thick. Using a floured, sharp biscuit cutter (2 to 2 1/2 inches in diameter), cut biscuits with a straight up-and-down motion without twisting to maintain tall edges. Place the biscuits close together on the baking pan for tender edges or spaced apart for crispier edges.
- Reuse Dough and Cut More Biscuits: Gather and re-flatten leftover dough to cut out 2 to 3 more biscuits, yielding a total of 10 to 12 biscuits.
- Brush with Butter and Bake: Brush the tops of the biscuits with melted unsalted butter for a golden crust. Bake in the preheated oven for about 15 minutes or until golden brown.
Notes
- Using cold butter is essential for creating flaky layers in your biscuits.
- Do not twist the biscuit cutter when cutting biscuits to prevent sealing edges and inhibit rising.
- You can substitute the cultured nonfat buttermilk with regular buttermilk or make a buttermilk substitute by adding 1 tablespoon lemon juice or vinegar to 3/4 cup milk.
- To get softer biscuit edges, place biscuits close together on the baking sheet; for crunchier edges, space them apart.
- Self-rising flour already contains leavening agents, so no additional baking powder or salt is needed.
- Best served warm with butter, honey, or jam.


