
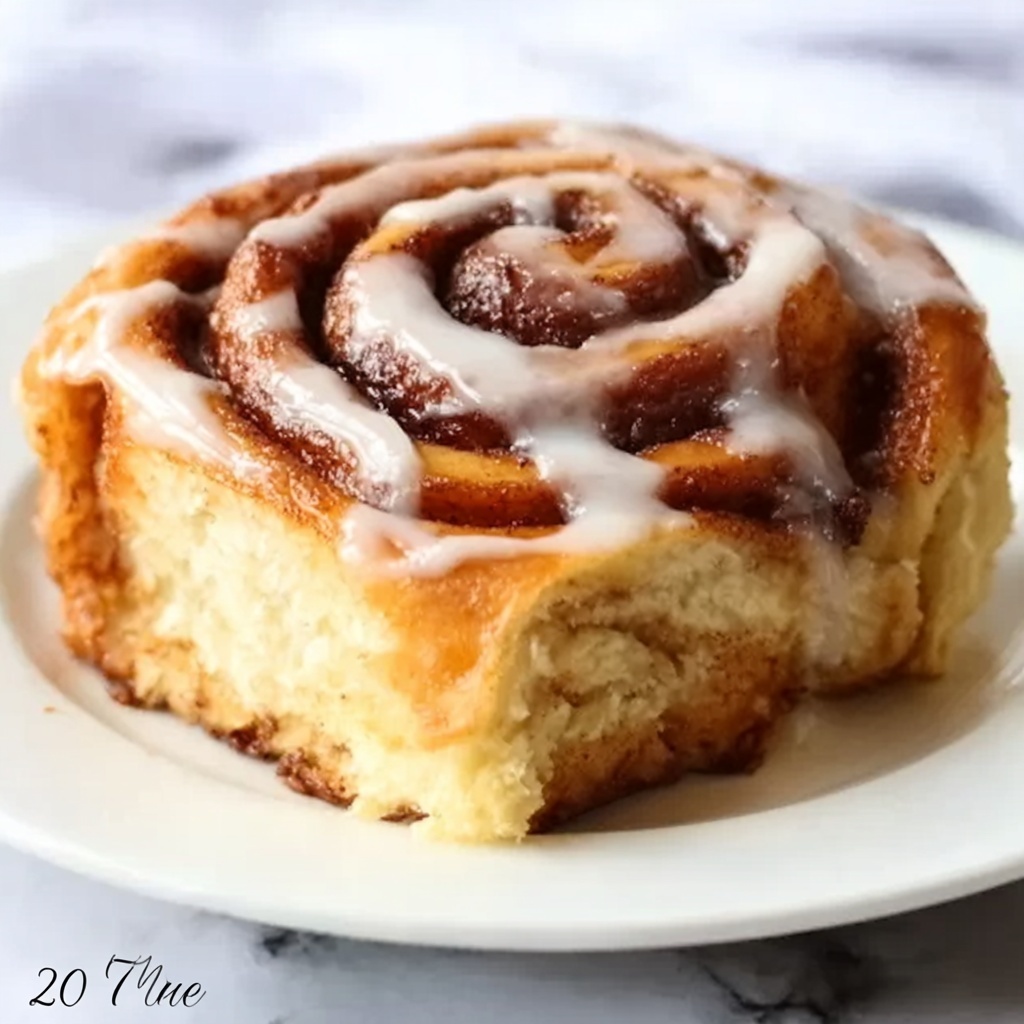
If you have ever dreamed of capturing the warm, gooey pleasure of cinnamon rolls without all the fuss of rolling dough, the Cinnamon Roll Bliss Bars Recipe is about to become your new obsession. These bars take everything you love about classic cinnamon rolls—the buttery sweetness, the fragrant cinnamon sugar swirls, and that luscious cream cheese frosting—and transform it into a simple, sliceable treat perfect for sharing with friends or indulging anytime. Trust me, once you take a bite, you’ll understand exactly why these bars have earned their blissful name.
Ingredients You’ll Need
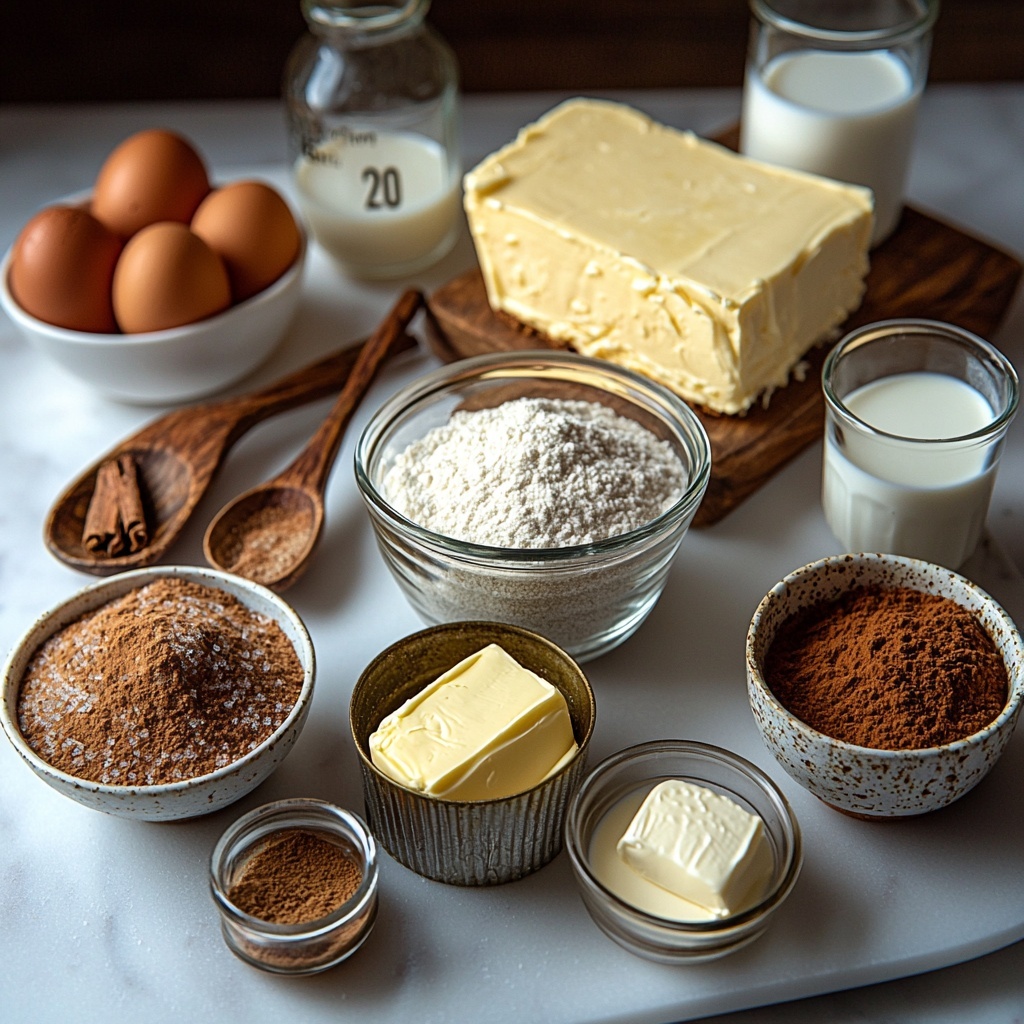
Gathering the right ingredients is the first step toward that perfect balance of flavor and texture. Each element in this Cinnamon Roll Bliss Bars Recipe plays a crucial role, from the creamy butter that enriches the batter to the cinnamon that fills each bite with spice and warmth.
- Unsalted butter: Using softened butter ensures your batter mixes evenly and gives a rich, tender crumb.
- Granulated sugar: Adds just the right amount of sweetness to the base.
- Large eggs: Provide structure and help bind the bars together.
- Vanilla extract: Adds depth and enhances the sweet flavors.
- All-purpose flour: The foundation that creates a soft yet sturdy bar.
- Baking powder: Gives the bars a gentle rise without making them cakey.
- Salt: Balances sweetness and intensifies other flavors.
- Milk: Keeps the batter moist and tender.
- Brown sugar: Brings a caramel-like richness to the cinnamon swirl.
- Ground cinnamon: The star spice that delivers that unmistakable cinnamon roll aroma.
- Melted butter: For mixing with the cinnamon sugar, creating those luscious pockets of flavor.
- Cream cheese: Softened for a silky, tangy frosting that perfectly complements the sweetness.
- Powdered sugar: Sweetens the frosting while keeping it creamy and smooth.
How to Make Cinnamon Roll Bliss Bars Recipe
Step 1: Prepare Your Oven and Pan
First things first, preheat your oven to 350°F (175°C) so it’s nice and hot when the bars are ready to bake. Grease a 9×13-inch baking pan thoroughly—this will ensure your bars come out effortlessly and stay intact when slicing.
Step 2: Cream Butter and Sugar
In a large bowl, beat the softened unsalted butter and granulated sugar together until the mixture is light and fluffy. This process is the secret to a tender texture, as well as giving the bars a subtle sweetness that’s not overpowering.
Step 3: Add Eggs and Vanilla
Mix in the eggs one at a time, combining thoroughly after each addition. Add the vanilla extract to lend a warm, inviting flavor that blends perfectly with the cinnamon later on.
Step 4: Combine Dry Ingredients
In another bowl, whisk together the flour, baking powder, and salt. This step ensures all the dry ingredients are evenly distributed so every bite is balanced.
Step 5: Mix Wet and Dry Ingredients
Gradually add the dry ingredients to the wet batter, alternating with milk. This technique helps maintain a smooth, cohesive batter without overmixing, which can make the bars tough.
Step 6: Layer Batter and Cinnamon Sugar
Spread half the batter evenly into your prepared pan, smoothing the surface with a spatula. Then, mix the brown sugar and ground cinnamon with melted butter until combined, and spoon this cinnamon sugar mixture evenly over the batter.
Step 7: Add Remaining Batter and Swirl
Top the cinnamon layer with the remaining batter, spreading it gently. Use a butter knife or skewer to swirl the layers together in a marbled pattern—this creates those gorgeous cinnamon pockets that make these bars unforgettable.
Step 8: Bake the Bars
Bake for 25 to 30 minutes until the edges turn golden and a toothpick inserted comes out clean. Once baked, remove from the oven and let the bars cool completely on a wire rack to prepare them for frosting.
Step 9: Prepare the Cream Cheese Frosting
Beat softened cream cheese and butter until smooth and creamy. Gradually add powdered sugar and vanilla extract, then stir in milk little by little until you reach a spreadable consistency.
Step 10: Frost and Serve
Once the bars are cooled, spread the frosting evenly on top. Cut into squares and get ready to savor a piece of cinnamon roll bliss.
How to Serve Cinnamon Roll Bliss Bars Recipe
Garnishes
For an extra special touch, sprinkle a little cinnamon or nutmeg on top of the frosting. Fresh berries or chopped nuts can add a pop of color and texture that makes each bite even more delightful.
Side Dishes
These bars shine alongside a hot cup of coffee or a glass of cold milk. They also pair beautifully with a scoop of vanilla ice cream for a comforting dessert or brunch treat.
Creative Ways to Present
Serve the Cinnamon Roll Bliss Bars Recipe on a rustic wooden board or colorful platter to make them the star of your dessert table. Arrange them alongside fresh fruit or drizzled with extra cream cheese glaze to impress your guests.
Make Ahead and Storage
Storing Leftovers
Keep your leftover bars in an airtight container at room temperature for up to two days. For longer freshness, they stay well-covered in the fridge for about a week without losing moisture or flavor.
Freezing
These bars freeze wonderfully! Wrap individual pieces tightly in plastic wrap and place them in a freezer-safe bag or container. They can be frozen for up to three months and thawed overnight in the fridge.
Reheating
Warm up your bars in the microwave for about 20 seconds or until the frosting softens slightly; it’s like enjoying them fresh out of the oven. If frozen, allow them to thaw completely before reheating for best texture.
FAQs
Can I substitute ingredients in the Cinnamon Roll Bliss Bars Recipe?
Absolutely! You can use whole milk, almond milk, or another preferred milk alternative. Butter can be swapped for margarine or a plant-based spread, but be mindful it might slightly change the flavor and texture.
How long do these bars last?
When properly stored, these bars last about a week in the fridge. Just keep them in an airtight container to maintain their moistness and flavor.
Can I make these bars gluten-free?
Yes! Use a one-to-one gluten-free flour blend in place of all-purpose flour. Be sure the blend contains xanthan gum for structure, or add it separately if your mix lacks it.
Is the frosting necessary?
The frosting absolutely elevates the bars, balancing out the cinnamon’s spice with tangy cream cheese sweetness, but you can enjoy them plain or dusted with powdered sugar if you prefer something lighter.
Can I double the recipe?
For sure—just use a larger pan or make in batches. The baking time may vary slightly, so keep an eye on them to avoid overbaking.
Final Thoughts
You really can’t go wrong with the Cinnamon Roll Bliss Bars Recipe. It’s a straightforward, approachable way to enjoy all the nostalgia and warmth of cinnamon rolls without the fuss. Whether you’re sharing with friends at brunch, packing a special treat for your family, or just indulging yourself, these bars bring joy in every bite. Give this recipe a go and prepare to fall head over heels for this new favorite!
Print
Cinnamon Roll Bliss Bars Recipe
- Prep Time: 15 minutes
- Cook Time: 30 minutes
- Total Time: 45 minutes
- Yield: 16 servings
- Category: Dessert
- Method: Baking
- Cuisine: American
Description
Cinnamon Roll Bliss Bars combine the sweet, spicy flavors of classic cinnamon rolls into an easy-to-make, bar-style dessert. Featuring a soft, buttery cake base swirled with a cinnamon-sugar filling and topped with a creamy cream cheese frosting, these bars are perfect for breakfast, dessert, or anytime a sweet treat is needed.
Ingredients
Base Batter
- ½ cup unsalted butter, softened
- ½ cup granulated sugar
- 2 large eggs
- 1 teaspoon vanilla extract
- 1½ cups all-purpose flour
- 1 teaspoon baking powder
- ¼ teaspoon salt
- ¼ cup milk
Cinnamon Sugar Filling
- ½ cup brown sugar, packed
- 2 tablespoons ground cinnamon
- ¼ cup unsalted butter, melted
Cream Cheese Frosting
- 4 ounces cream cheese, softened
- ¼ cup unsalted butter, softened
- 1½ cups powdered sugar
- 1 teaspoon vanilla extract
- 2–3 tablespoons milk (adjust for consistency)
Instructions
- Preheat and Prepare Pan: Preheat your oven to 350°F (175°C) and grease a 9×13-inch baking pan to prevent sticking and ensure easy removal of the bars after baking.
- Cream Butter and Sugar: In a large bowl, cream together the softened butter and granulated sugar until the mixture is light and fluffy, creating a smooth base for the batter.
- Add Eggs and Vanilla: Beat in the eggs one at a time, then add vanilla extract, mixing until well combined to incorporate moisture and flavor.
- Mix Dry Ingredients: In a separate bowl, whisk together the all-purpose flour, baking powder, and salt to evenly distribute the rising agent and seasoning.
- Combine Wet and Dry Ingredients: Gradually add the dry ingredients to the wet mixture, alternating with the milk, mixing gently until just combined to avoid overmixing which can toughen the bars.
- Layer Batter: Spread half of the prepared batter evenly into the greased baking pan to form the base layer.
- Add Cinnamon Sugar Filling: In a small bowl, combine the brown sugar and ground cinnamon with the melted butter. Spoon this mixture evenly over the base layer to create the characteristic cinnamon swirl flavor.
- Top with Remaining Batter and Swirl: Dollop the remaining batter over the cinnamon sugar layer and use a knife to gently swirl it into the filling, creating a marbled effect.
- Bake: Bake the bars in the preheated oven for 25-30 minutes, or until a toothpick inserted into the center comes out clean, indicating they are fully cooked.
- Cool: Remove from the oven and allow the bars to cool completely on a wire rack to set before frosting, preventing the frosting from melting.
- Prepare Frosting: In a bowl, beat the softened cream cheese and butter until smooth and creamy. Gradually add the powdered sugar and vanilla extract, then add milk a tablespoon at a time until the frosting reaches your desired consistency.
- Frost and Serve: Spread the frosting evenly over the cooled bars. Cut into 16 squares and serve for a delicious treat.
Notes
- Ensure butter and cream cheese are softened for easy mixing and smooth texture.
- Do not overmix the batter to keep the bars tender.
- Adjust milk in the frosting to achieve your preferred consistency—thicker for spreading or thinner for drizzling.
- Bars can be stored in an airtight container in the refrigerator for up to 5 days or frozen for longer storage.
- For an extra touch, sprinkle chopped nuts or drizzle caramel sauce on top of the frosting.