
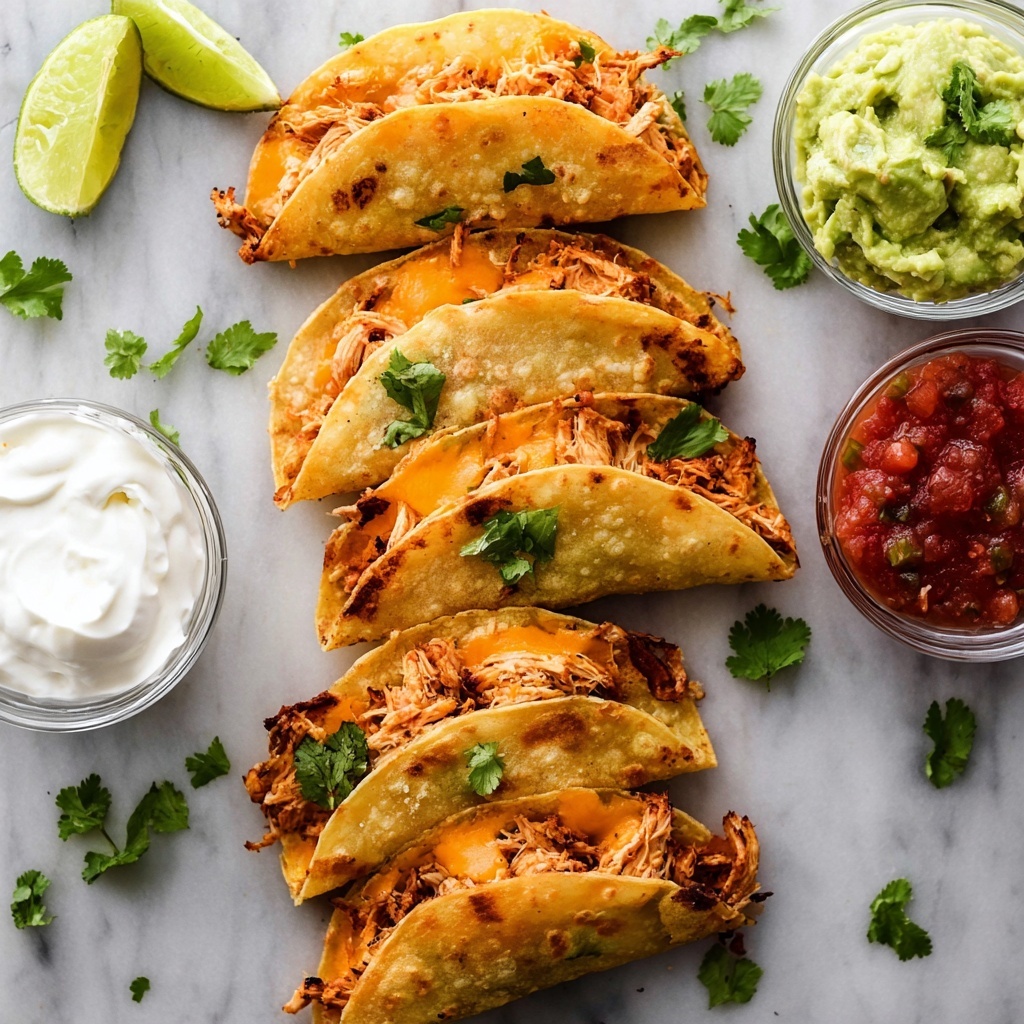
If you’re craving a fun, flavorful, and downright irresistible dinner idea, you must try this Baked Chicken Tacos Recipe. These tacos are pure magic—crispy corn tortillas wrapped around juicy, seasoned shredded chicken and melted cheese, then baked to a perfect crunch. They bring a beautiful balance of textures and bold flavors that will have everyone reaching for seconds. Plus, they’re quick to prepare, making them an ideal weeknight meal or party crowd-pleaser. Get ready for a taco experience that’s fresh, vibrant, and totally satisfying!
Ingredients You’ll Need
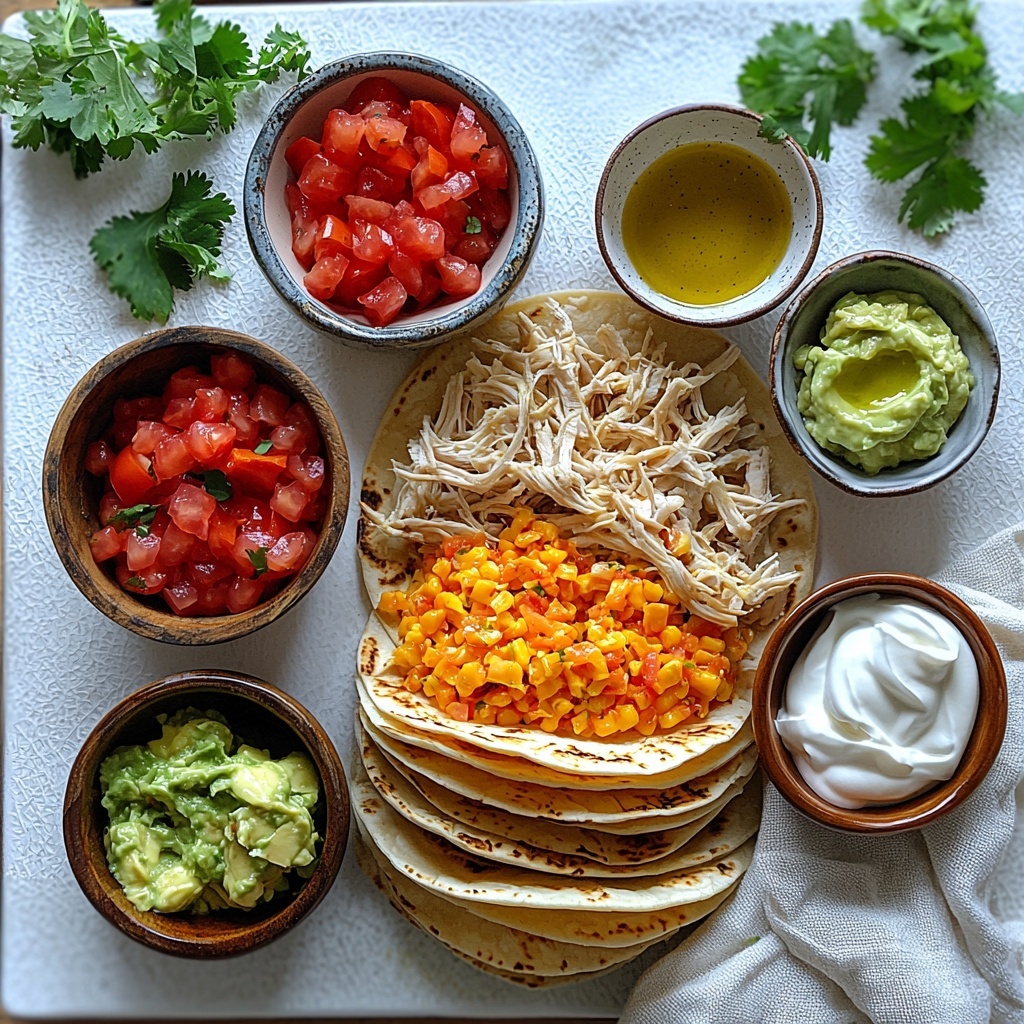
The beauty of this recipe lies in how simple yet essential the ingredients are. Each component plays a part in creating layers of flavor, texture, and color that shine through every bite.
- 1 lb. cooked, seasoned shredded chicken: The hearty protein star, packed with flavor and ready to fill your tacos.
- 1 ½ cups freshly grated Colby-jack cheese: Adds a creamy, mild meltiness that complements the chicken perfectly.
- 1 ½ cups freshly grated Pepper-Jack cheese: Brings a subtle spicy kick and gooey texture for balance.
- 20 street taco corn tortillas: Small, authentic tortillas that crisp up beautifully in the oven.
- Olive oil OR Olive oil cooking spray: Used to brush the tortillas lightly, helping them crisp and brown without sogginess.
- Salsa: A fresh, tangy topping that adds vibrant color and zest.
- Diced tomato: Brings a juicy, refreshing contrast in every bite.
- Guacamole: Creamy and rich, it tempers the spices and adds a luxurious texture.
- Sour cream: Offers a cool, smooth complement to the warm spices and crispy shells.
- Cilantro: A fresh herb garnish that adds brightness and a hint of earthiness.
How to Make Baked Chicken Tacos Recipe
Step 1: Preheat and Prepare Tortillas
Start by heating your oven to 425 degrees Fahrenheit, which is the perfect temperature to get those tortillas crisp without drying out the chicken. Line two large baking sheets with parchment paper to prevent sticking and make cleanup easier. Lay the corn tortillas flat on the sheets, then brush both sides gently with olive oil or spray with olive oil cooking spray. This step ensures a golden, crispy taco shell that holds up to the fillings without cracking.
Step 2: Add the Filling
Next, spoon about two tablespoons of your seasoned shredded chicken right down the center of each tortilla. Don’t skimp here—this juicy filling is what makes the taco satisfying. Then top the chicken with two heaping tablespoons of a blend of freshly grated Colby-jack and Pepper-Jack cheeses. The combination of these cheeses melts beautifully and adds creamy, spicy layers.
Step 3: Bake and Fold
Pop the trays in the oven and bake the tacos for 2 minutes just long enough for the cheese to start melting. Then, carefully take each tortilla off the sheet and fold them in half, pressing them gently to form that classic taco shape. Return them to the baking sheets and bake for another 12 to 14 minutes, or until the corn tortillas are perfectly crispy on the outside and the cheese is heavenly oozy on the inside.
Step 4: Serve and Enjoy
Once baked, your fantastic Baked Chicken Tacos Recipe is ready to shine. Grab your favorite toppings and dive into a taco that’s crunchy, cheesy, and packed with flavor. It’s the perfect combination of simple technique and bold ingredients.
How to Serve Baked Chicken Tacos Recipe
Garnishes
Adding garnishes is where your tacos get that final burst of freshness and personality. Salsa lends a bright, tangy punch that cuts through the richness. Diced tomatoes bring a juicy pop in every bite. Creamy guacamole adds luscious texture, while sour cream cools down any heat from the Pepper-Jack cheese. A sprinkle of freshly chopped cilantro adds an aromatic, herbal lift that makes these chicken tacos taste extraordinary.
Side Dishes
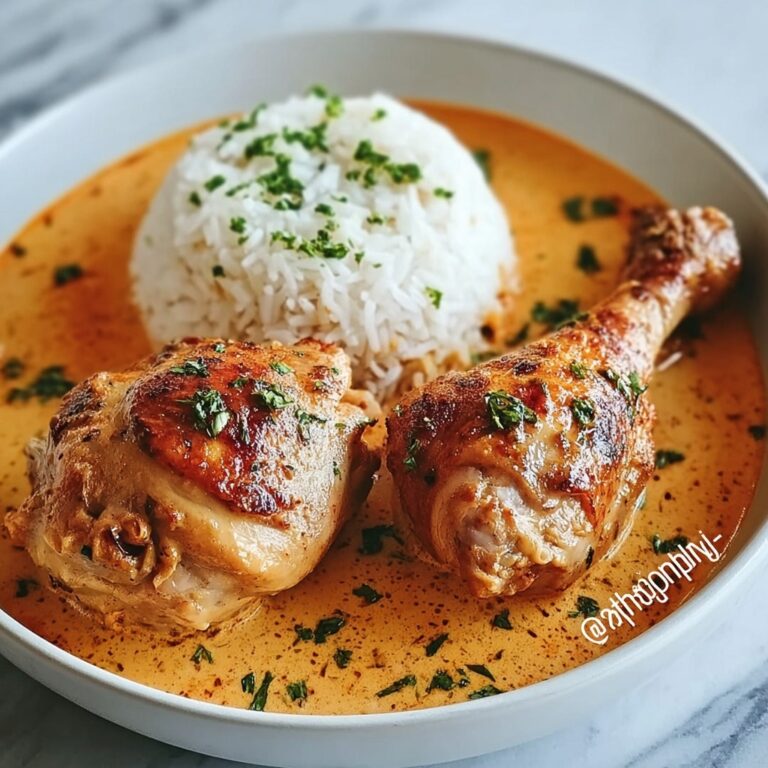
While baked chicken tacos are delicious on their own, pairing them with the right sides can elevate your meal to next-level greatness. Consider a simple Mexican street corn salad, lightly dressed mixed greens with lime vinaigrette, or black beans seasoned with cumin and garlic. Each side complements the main dish by balancing flavors and textures without overpowering those crispy, cheesy tacos.
Creative Ways to Present
If you want to impress friends or family, try serving these tacos on a vibrant platter with small bowls of each garnish so everyone can customize their own. For a picnic or casual party, pack them individually in parchment-lined baskets. Or, turn them into a fun taco bar with additional toppings like pickled onions, jalapeños, or shredded lettuce for a customizable fiesta vibe!
Make Ahead and Storage
Storing Leftovers
If you have leftovers (and you might!), keep the tacos covered in an airtight container in the refrigerator. To maintain their crispness, separate the tacos and wrap each one individually with parchment or wax paper to keep them from sticking together. They’ll stay delicious for up to 3 days.
Freezing
You can freeze the baked chicken tacos if you want to save time for another day. Wrap them individually in plastic wrap, then place in a large freezer-safe bag or container. When properly stored, they can last up to 2 months in the freezer without losing their texture or flavor.
Reheating
The best way to reheat your tacos is in the oven at 350 degrees Fahrenheit for about 10 minutes. This will help restore the tortilla’s crispiness and warm the filling evenly. Avoid the microwave if you can, as it tends to make tortillas soft and rubbery, which takes away from the magic of the original Baked Chicken Tacos Recipe.
FAQs
Can I use a different type of cheese?
Absolutely! While Colby-jack and Pepper-Jack create the perfect balance of creaminess and spice, you can swap in cheddar, Monterey Jack, or even a Mexican blend depending on your taste preference. Just make sure it’s a good melting cheese for the best texture.
Can I make this recipe with raw chicken?
This Baked Chicken Tacos Recipe calls for cooked, seasoned shredded chicken. You can cook the chicken yourself by baking or slow-cooking it with your favorite spices before shredding. Using pre-cooked chicken saves time and ensures even cooking in the taco.
Are street taco corn tortillas gluten-free?
Most corn tortillas are naturally gluten-free, making this recipe great for those with gluten sensitivities. Just be sure to double-check the packaging to confirm no gluten-containing additives have been included.
Can I prepare the tacos entirely ahead of time?
You can assemble the tacos with the chicken and cheese, cover them, and keep them refrigerated for a few hours before baking. However, for the crispiest shells and best flavor, it’s recommended to bake just before serving.
What if I don’t have parchment paper?
If you don’t have parchment paper, you can lightly grease your baking sheets with olive oil to prevent sticking. However, parchment paper helps provide an even crisp without burning and makes cleanup much easier.
Final Thoughts
This Baked Chicken Tacos Recipe is truly a gem in the world of easy and delicious meals. It perfectly blends bold flavors, crispy textures, and comforting aromas in a way that feels homemade yet special. Whether you’re cooking for a crowd or a quick family dinner, these tacos bring joy and a little fiesta to your table. So go ahead, preheat that oven, gather your ingredients, and treat yourself to a taco night that’s bursting with flavor and fun!
Print
Baked Chicken Tacos Recipe
- Prep Time: 10 minutes
- Cook Time: 16 minutes
- Total Time: 26 minutes
- Yield: 20 tacos
- Category: Main Course
- Method: Baking
- Cuisine: Mexican
Description
These Baked Chicken Tacos offer a quick and delicious way to enjoy a crispy taco shell filled with seasoned shredded chicken and melted cheese. Perfect for a crowd or a casual dinner, this recipe uses simple ingredients and a straightforward baking method to deliver flavorful, handheld tacos topped with your favorite garnishes like salsa, guacamole, and sour cream.
Ingredients
Main Ingredients
- 1 lb. cooked, seasoned shredded chicken
- 1 ½ cups freshly grated Colby-jack cheese
- 1 ½ cups freshly grated Pepper-Jack cheese
- 20 street taco corn tortillas
Additional Ingredients
- Olive oil OR Olive oil cooking spray (for brushing tortillas)
- Salsa (for serving)
- Diced tomato (for serving)
- Guacamole (for serving)
- Sour cream (for serving)
- Cilantro (for garnish)
Instructions
- Preheat and prepare baking sheets: Heat your oven to 425 degrees Fahrenheit. Line two large baking sheets with parchment paper to prevent sticking and make cleanup easier.
- Prepare tortillas: Lay the corn tortillas flat on the lined baking sheets. Brush both sides of each tortilla with olive oil or spray evenly with olive oil cooking spray to ensure they crisp up nicely during baking.
- Add filling and cheese: Place about two tablespoons of the shredded chicken down the center of each tortilla. Then, evenly distribute about two heaping tablespoons of the grated Colby-jack and Pepper-Jack cheese blend on top of the chicken.
- Start baking: Bake the tacos in the preheated oven for 2 minutes or until the cheese begins to melt and becomes gooey.
- Shape and finish baking: Remove the baking sheets carefully from the oven. While the tortillas are still warm, fold each tortilla in half to form a taco shape, gently pressing the edges together. Return the tacos to the oven and bake for an additional 12 to 14 minutes, or until the corn tortillas are crispy and golden on the outside.
- Serve and garnish: Remove the baked chicken tacos from the oven and serve immediately with your choice of toppings such as salsa, diced tomato, guacamole, sour cream, and fresh cilantro for added flavor and freshness.
Notes
- You can prepare the shredded chicken ahead to speed up the assembly process.
- Use parchment paper or a silicone baking mat to prevent sticking and ease cleanup.
- For extra crispiness, brush a little more oil on the tacos before the final baking.
- Feel free to substitute cheese varieties according to your preference or dietary restrictions.
- If you prefer, warm the toppings beforehand for a contrast between hot tacos and cool garnishes.
- These tacos are best enjoyed immediately for optimal crispness.

