
“`html
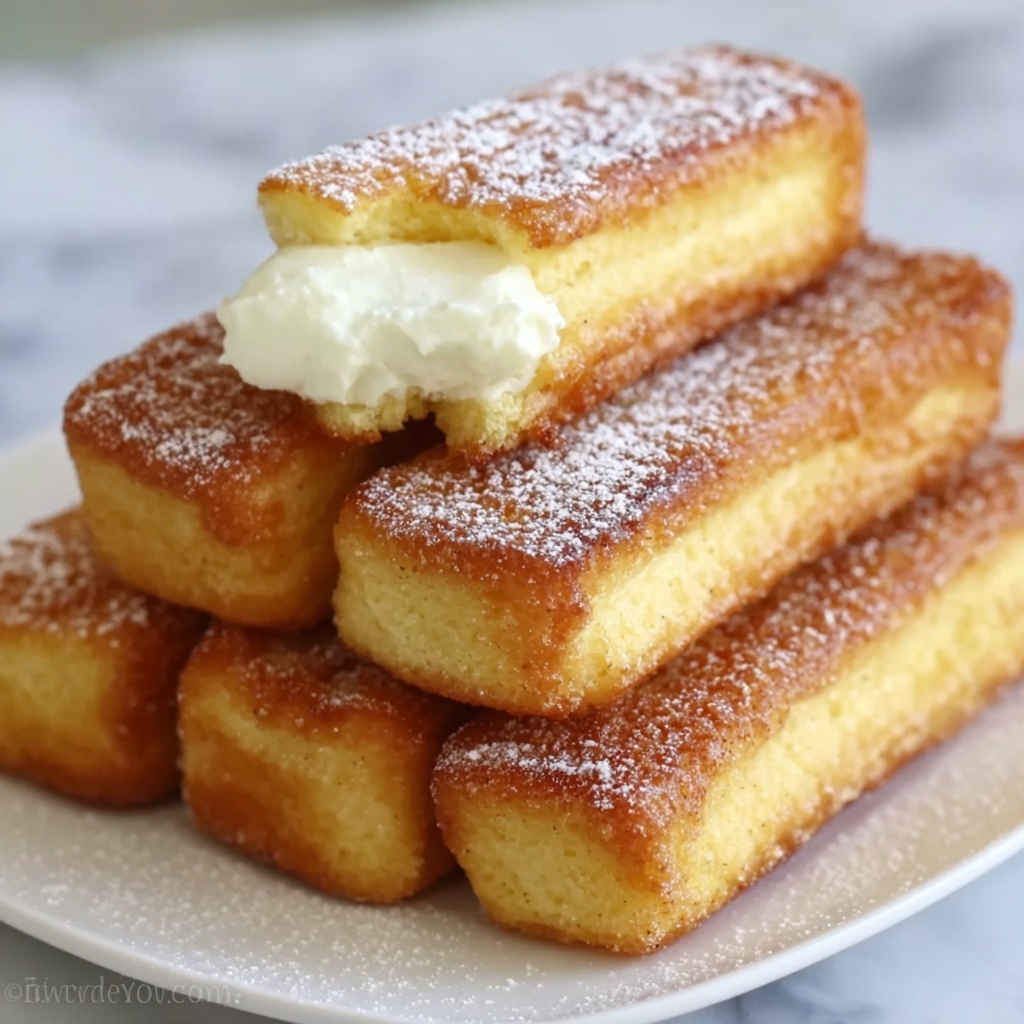
If you’ve ever craved that iconic, golden, cream-filled treat but wanted to skip the store-bought preservatives and simply craft it fresh with your own hands, you are in for a real treat with this Homemade Twinkies Recipe. It’s everything you love about those iconic golden cakes—airy, moist cake wrapped around a luscious, sweet cream filling—made entirely from scratch. Trust me, once you try these, you’ll wonder why you ever settled for anything less than homemade!
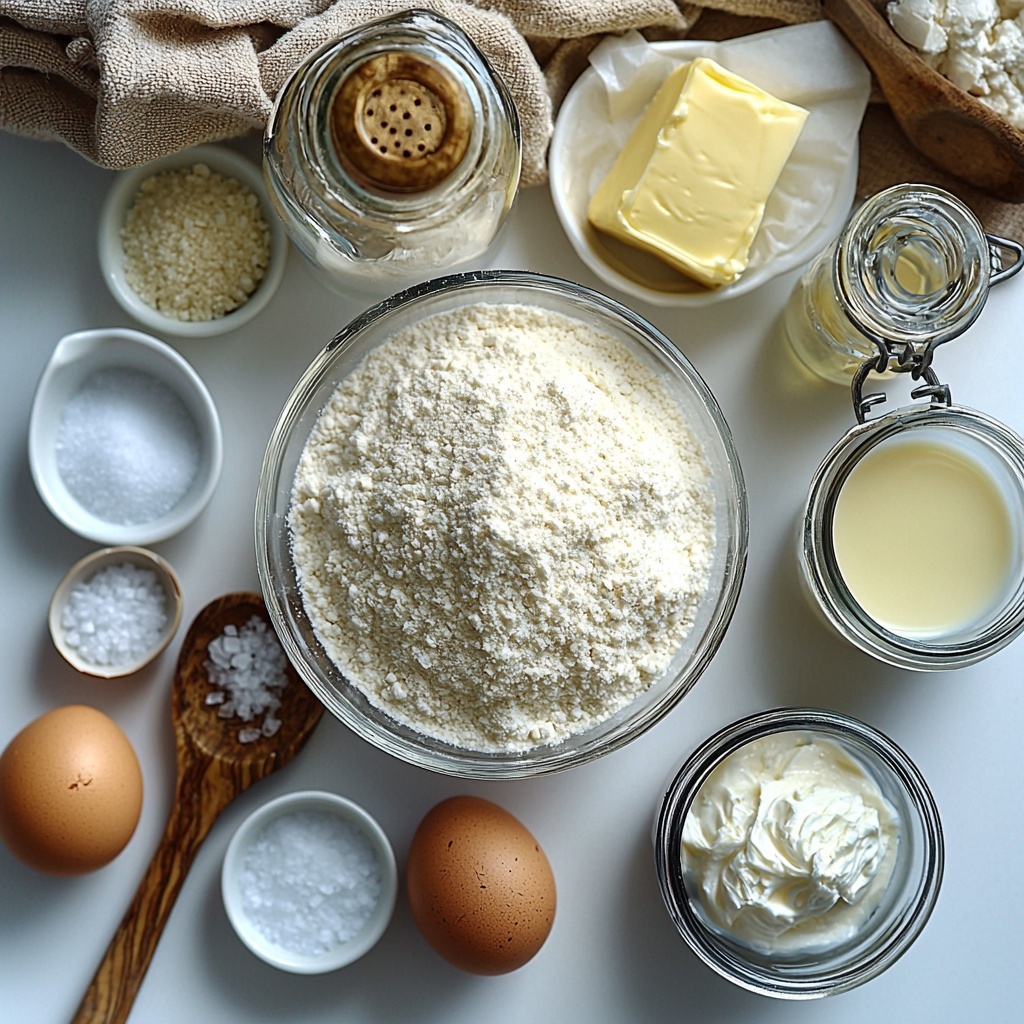
Ingredients You’ll Need
The magic behind this Homemade Twinkies Recipe lies in its simplicity. Each ingredient is thoughtfully selected to create that classic light texture and irresistible flavor, so let’s take a quick look at what you’ll need.
- 1 cup all-purpose flour: The foundation of your fluffy cake, providing structure without heaviness.
- 1 teaspoon baking powder: Adds that gentle lift to keep the cake airy and soft.
- 1/2 teaspoon baking soda: Works alongside baking powder to give a perfect rise and tenderness.
- 1/4 teaspoon salt: Enhances flavors and balances sweetness.
- 1/2 cup unsalted butter, softened: Brings richness and helps create a tender crumb.
- 1 cup granulated sugar: Sweetens the cake and helps with browning for that golden crust.
- 2 large eggs: Provide moisture, structure, and richness to the batter.
- 1 teaspoon vanilla extract: Introduces the warm, comforting flavor that makes Twinkies so unforgettable.
- 1/2 cup milk: Keeps the batter smooth and helps achieve the perfect texture.
- Cream filling (powdered sugar, butter, vanilla extract, and milk for consistency): The luscious, sweet center that transforms these cakes into dreamy treats.
How to Make Homemade Twinkies Recipe
Step 1: Preheat and Prep
Get your oven warmed up to 350°F (175°C). This step is crucial because starting with the right temperature means your Twinkies bake evenly and develop that golden crust perfectly. If you don’t have Twinkie molds, greased cupcake pans will work beautifully too.
Step 2: Combine Dry Ingredients
In a medium bowl, whisk together the flour, baking powder, baking soda, and salt. Mixing these first helps distribute the leavening agents evenly so every bite rises consistently.
Step 3: Cream Butter and Sugar
In a separate large bowl, beat the softened butter and sugar together until the mixture is light and fluffy—about three minutes. This step is like breathing life into your batter; the air beaten in helps make the cake tender and deliciously soft.
Step 4: Add Eggs and Vanilla
Beat in the eggs one at a time, making sure each is fully incorporated before adding the next. Then stir in the vanilla extract, allowing its warm aroma to infuse the batter.
Step 5: Alternate Adding Dry Ingredients and Milk
Gradually add the dry ingredients to the wet mixture, alternating with milk. Start and end with the dry ingredients. This back-and-forth folding helps maintain the batter’s airy texture without overmixing.
Step 6: Fill and Bake
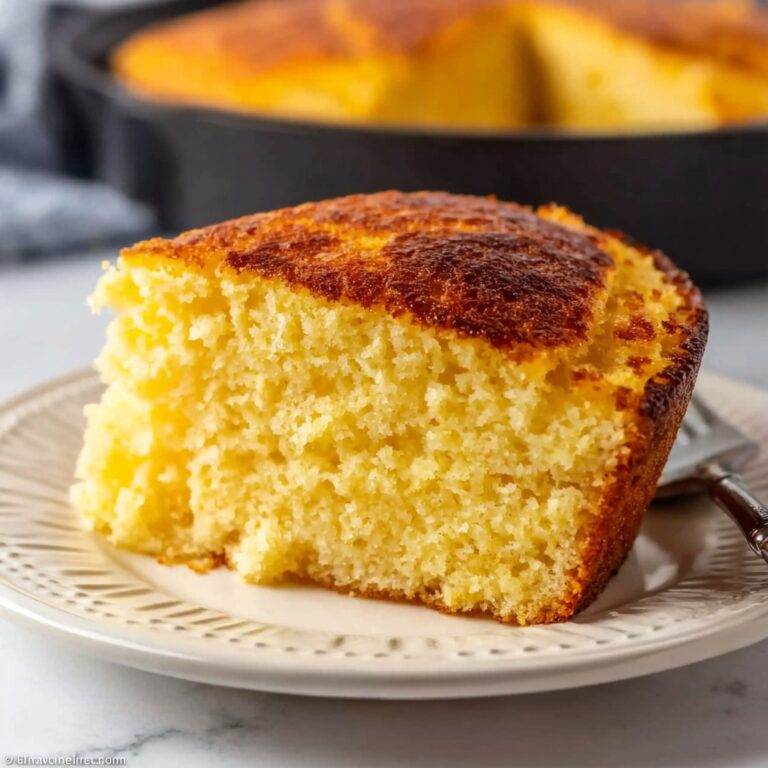
Spoon the batter into your molds or greased cupcake pans, filling each cavity about two-thirds full to give room for the cake to rise without spilling. Bake for 20 to 25 minutes, or until the cakes are a beautiful golden brown and a toothpick inserted comes out clean.
Step 7: Cool Completely and Fill
Once baked, let your Twinkies cool completely before filling. Use a piping bag to inject the sweet cream filling right into the center—this is what turns a simple cake into the iconic Homemade Twinkies Recipe you know and love.
How to Serve Homemade Twinkies Recipe
Garnishes
While these homemade delights are delicious on their own, a light dusting of powdered sugar across the top adds just the right touch of elegance. You can also dip one end in melted chocolate and sprinkle chopped nuts if you want to add a fun twist.
Side Dishes
Serve your Homemade Twinkies Recipe alongside a cup of freshly brewed coffee or a cold glass of milk. The simplicity of these beverages perfectly complements the sweet, creamy indulgence of the Twinkies, making for a nostalgic treat that feels just like a warm hug.
Creative Ways to Present
Cut your Twinkies into bite-sized pieces and arrange them on a platter with fresh berries for a delightful dessert spread. Or layer sliced Twinkies with whipped cream and fruit in a trifle bowl for a fun, show-stopping dessert that will wow any crowd.
Make Ahead and Storage
Storing Leftovers
Once filled, store your Homemade Twinkies Recipe in an airtight container in the refrigerator. They will stay fresh and delicious for up to 3 to 4 days, perfect for savoring a little piece of nostalgia throughout the week.
Freezing
If you want to keep your Twinkies longer, you can freeze them before filling. Wrap each cake tightly in plastic wrap and place them in a sealed freezer bag. They’ll keep well for up to 1 month. When ready, thaw in the fridge, fill with cream, and enjoy.
Reheating
Since these are best served at room temperature or chilled, avoid microwaving filled Twinkies. If frozen, let them thaw fully in the refrigerator before eating for the best texture and flavor experience.
FAQs
Can I make the cream filling ahead of time?
Absolutely! The cream filling can be prepared a day in advance and stored in an airtight container in the fridge. Just give it a quick stir before piping it into your Twinkies for best results.
What can I use if I don’t have Twinkie molds?
Greased cupcake pans or even small loaf pans work perfectly. Just be sure not to overfill them to allow space for the cake to rise without spilling over.
Can I use a different type of milk for this recipe?
You can substitute regular milk with almond, soy, or oat milk if you prefer. Keep in mind that slight changes in texture or flavor might occur, but the cake will still be delicious!
Is it possible to make these gluten-free?
Yes! Swap the all-purpose flour for a gluten-free baking blend, making sure it contains xanthan gum for structure. The delicate texture of the Twinkies may vary slightly but will still be delightful.
How can I make the cakes extra moist?
Make sure not to overbake. Keep an eye on your cake starting at 20 minutes, and remove them from the oven as soon as a toothpick comes out clean. Also, folding the batter gently maintains moisture and lightness.
Final Thoughts
Making this Homemade Twinkies Recipe is truly a labor of love that pays off in every soft, creamy bite. It’s a nostalgic treat that’s both fun to make and impossible to resist. So gather your ingredients, dig into this joyful baking adventure, and watch your loved ones’ faces light up with each homemade Twinkie you share!
“`
Print
Homemade Twinkies Recipe
- Prep Time: 15 minutes
- Cook Time: 25 minutes
- Total Time: 40 minutes
- Yield: 12 servings
- Category: Dessert
- Method: Baking
- Cuisine: American
- Diet: Vegetarian
Description
Delight in these homemade Twinkies, a classic American snack cake featuring a soft, fluffy sponge cake filled with a sweet and creamy vanilla filling. This recipe guides you through creating the perfect golden-baked Twinkies with a rich, creamy center from scratch, delivering nostalgia and deliciousness in every bite.
Ingredients
Dry Ingredients
- 1 cup all-purpose flour
- 1 teaspoon baking powder
- 1/2 teaspoon baking soda
- 1/4 teaspoon salt
Wet Ingredients
- 1/2 cup unsalted butter, softened
- 1 cup granulated sugar
- 2 large eggs
- 1 teaspoon vanilla extract
- 1/2 cup milk
Cream Filling
- 1 cup powdered sugar
- 1/2 cup unsalted butter, softened
- 1 teaspoon vanilla extract
- 2–3 tablespoons milk (for consistency)
Instructions
- Preheat Oven: Preheat your oven to 350°F (175°C) to prepare for baking the Twinkies.
- Mix Dry Ingredients: In a medium bowl, sift together the all-purpose flour, baking powder, baking soda, and salt to ensure even distribution.
- Cream Butter and Sugar: In a separate large bowl, beat the softened butter and granulated sugar on medium speed until the mixture is light and fluffy, approximately 3 minutes.
- Add Eggs: Add the eggs one at a time to the butter-sugar mixture, beating well after each addition to incorporate fully.
- Add Vanilla: Stir in the vanilla extract to infuse flavor into the batter.
- Combine Ingredients: Gradually add the dry ingredients into the wet mixture, alternating with milk, starting and ending with the flour mixture. Mix gently to avoid overbeating and maintain a light texture.
- Fill Molds: Spoon the batter into Twinkie molds or greased cupcake pans, filling each cavity about two-thirds full for optimal rise.
- Bake: Place the molds in the preheated oven and bake for 20-25 minutes or until the cakes are golden brown and a toothpick inserted in the center comes out clean.
- Prepare Cream Filling: While cakes bake, beat together powdered sugar, softened butter, vanilla extract, and enough milk to achieve a smooth, pipeable cream consistency.
- Cool Cakes: Remove the Twinkies from the oven and let them cool completely before adding the filling to prevent melting.
- Fill Twinkies: Using a piping bag, carefully inject the cream filling into the cooled cakes.
- Serve and Enjoy: Your homemade Twinkies are now ready to be enjoyed fresh or stored for later snacking.
Notes
- Ensure butter is softened, not melted, for best creaming results.
- Be gentle when mixing after adding dry ingredients to keep the batter light and fluffy.
- If Twinkie molds are unavailable, use cupcake pans and shape the cakes slightly after baking.
- Store filled Twinkies in an airtight container in the refrigerator for up to 3 days.
